Learning a new skill is both exciting and humbling!
While failing is part of the process, we wanted to give you a little help as you take on jump rope, and share some of the most common jump rope mistakes we see and offer some help! If you’re new here, we love teaching people how to be more efficient, and have created a series online to help fix common mistakes. Click the links below to get an even better understanding with video examples.Faster Isn’t Always Better:
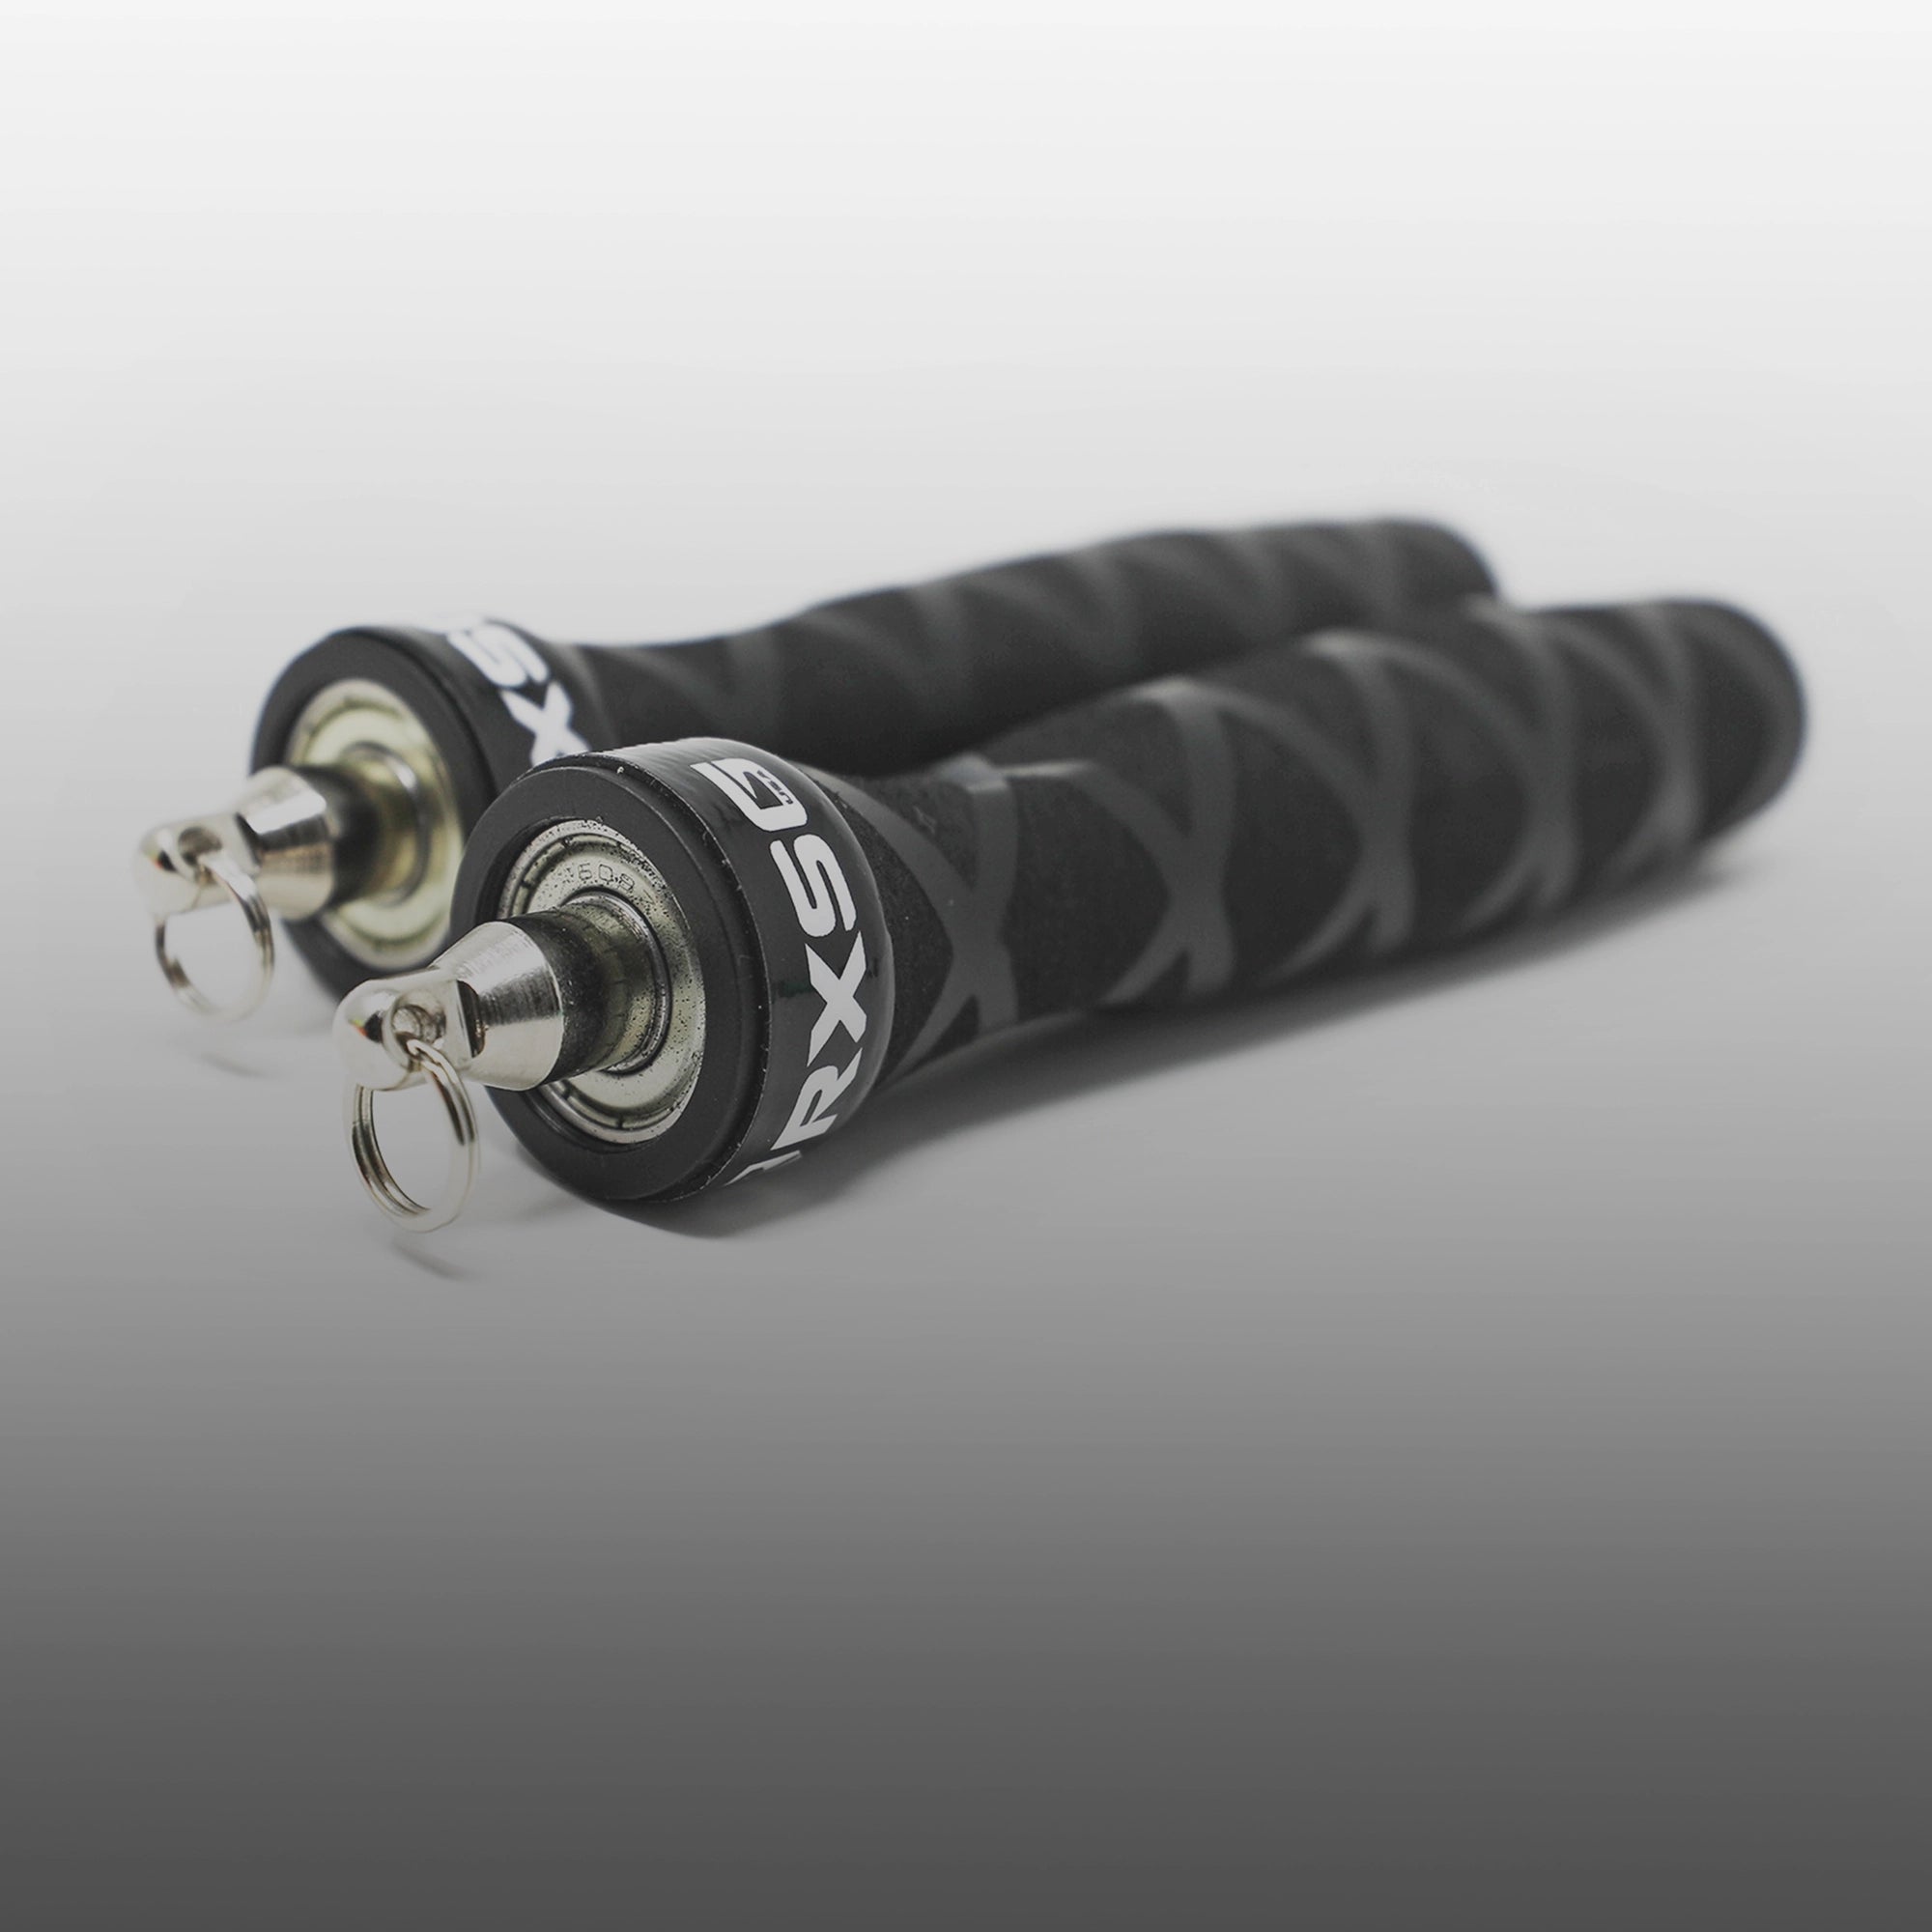
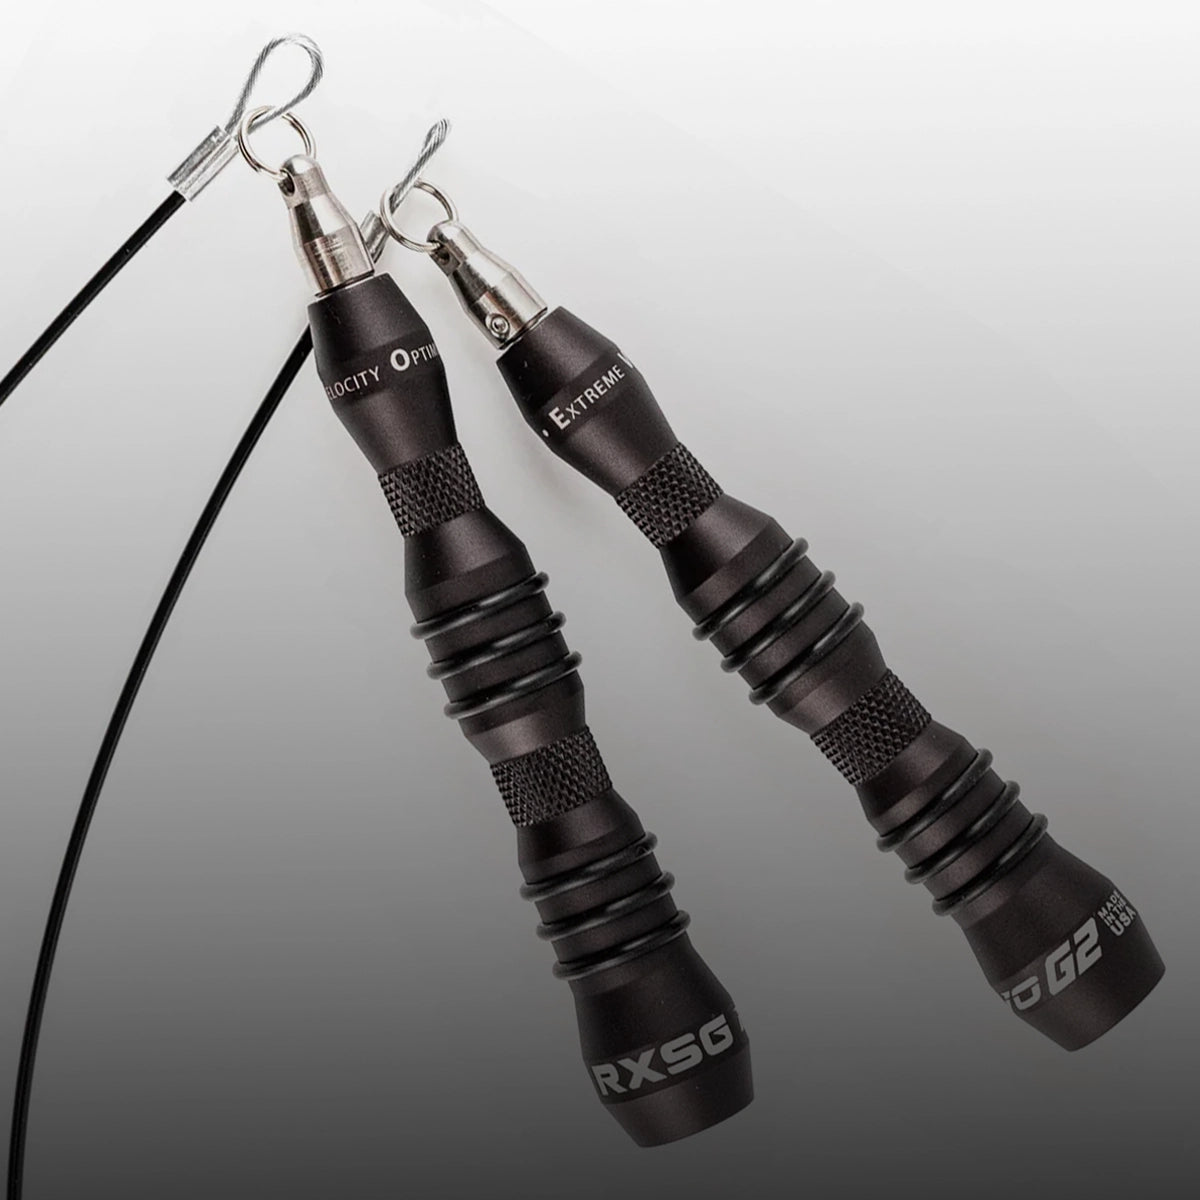
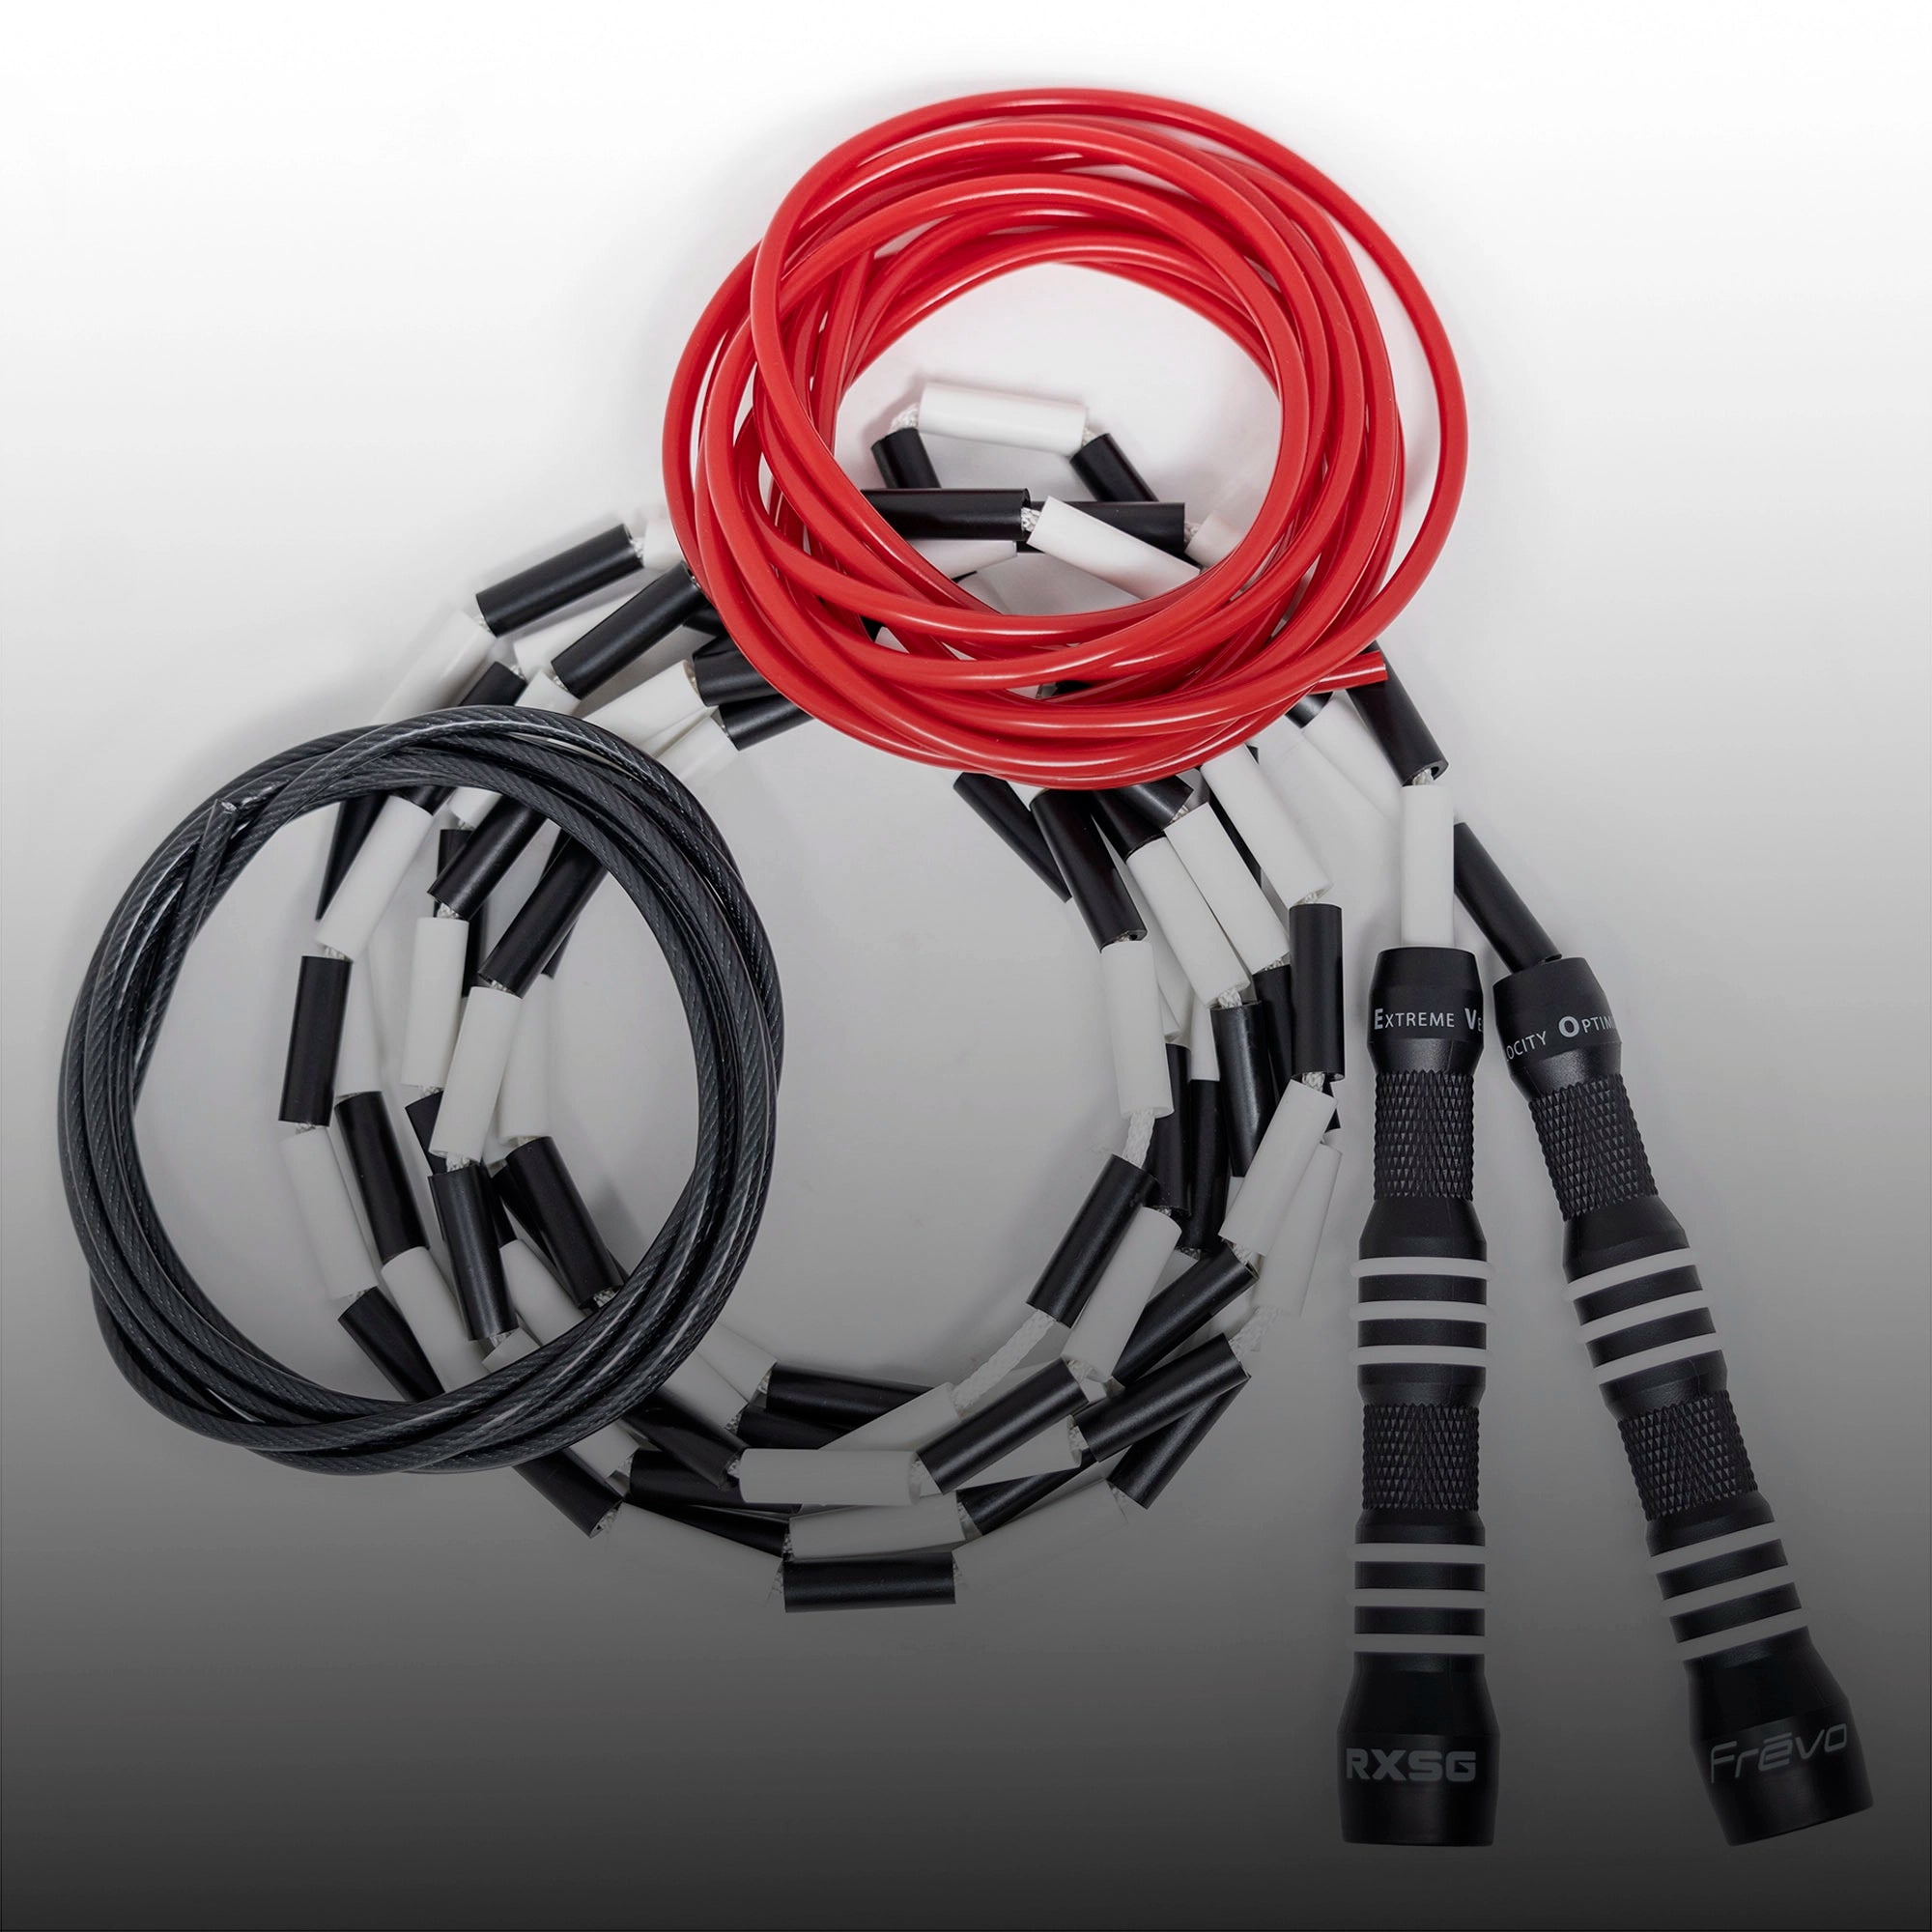
The most common jump rope mistake we see people make again and again is choosing a speed rope/bare metal cable. We believe that everyone would benefit from training with a weighted jump rope. Whether you are a beginner and just picking up a jump rope or an elite athlete competing at the top of their sport, the benefits of weighted jump ropes are countless. For purposes of this article, we believe that a speed rope weighs in between 1-2oz, and a weighted rope is anything above 2oz.
The beauty of a weighted jump rope is that it offers more feedback to the user. It forces you to slow down, get a feel for and understand the movement, whether you are practicing single unders, side swings, double unders, or any other trick. We here at Rx Smart Gear, are advocates for people training heavy and competing light, and are big proponents of people training with our “buff” cable which weighs in at 3.4oz. We find that our buff cable offers enough feedback to dial in form, while not too much that it taxes out your shoulders and core.
Now, let’s get into some other common mistakes:
-Erica Brandelius
Size Matters!
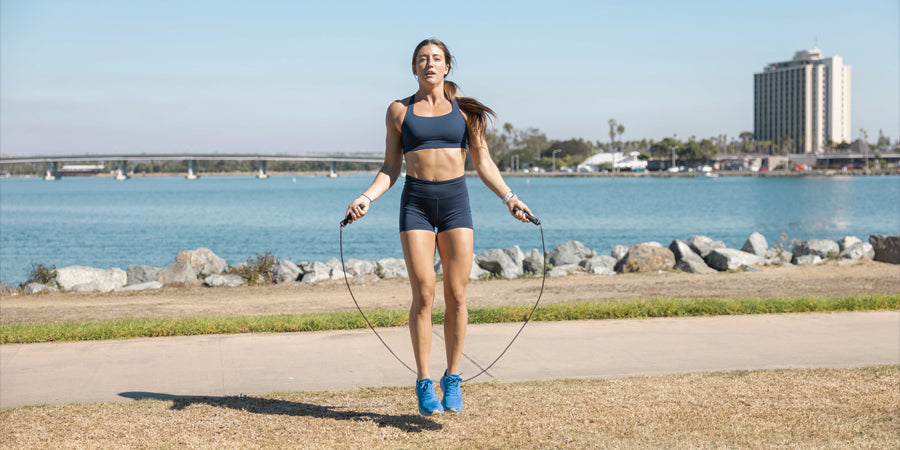
Most people feel they need a longer rope to get the rope around their body, but the truth is, a longer rope encourages a terrible hand position! To find a great starting point, keep handles together, step one foot into the middle of the rope, then bring your other foot right beside but outside the rope, turn handles horizontal and make sure that the cable does not go any higher than the bottom of your sternum. This will provide a rope length with plenty of cushion to learn but not too much rope length to cause bad habits. For those of you who are comfortable with jumping rope, we like to size people down to a tighter, more efficient position. The rope should rotate at the midline of your body, when looking from the front and from the side. If we use the guide above, the end of the handle should be about 4 fingers below your sternum.
Elevate before you Rotate:
How often are you controlling your wrist rotation versus your bound/jump? We are able to control our bound without realizing it (think of switching from a walk to a jog to a sprint). When learning how to jump rope, utilize that muscle memory and play with your bound height instead of focusing on your wrists. Practice low quick single unders with a tight wrist rotation. Once you're ready for double unders, all you need to do is jump higher and your wrist rotation can stay the same! Keep single unders low and quick and double unders high and slow. We love the cue “elevate before you rotate”!
Elbows Back vs Elbows In:
When jumping rope, we want to see a beautiful tight arch wrapping around the body, as opposed to a wide one. Often we hear people tell athletes, "elbows in", but this doesn't solve the problem! When our hands are too wide, the rope is further from our body, causing us to work harder to get it to rotate around us, and often resulting in us tucking our body in, in order to get out of the way for the rope to pass under us. Think of the cue "elbows back". By bringing elbows back, we create more of a stacked position, with the wrists under the shoulders. This allows us to stay relaxed, while letting our wrists rotate and guide the rope around us. Think of a clean grip vs snatch grip!
Loosen Up!
Often when people start learning to jump rope they tend to “grip it and rip it”. They hold on for dear life, which fatigues forearms and shoulders. Try holding the handle with just your thumb and index finger. Then when it’s comfortable, lightly wrap the other fingers around the handle. This keeps tension in your body low, but can create more tension in your rope, which is what we want to see during double unders. Guide the rope with smooth wrist rotations and let the rope do the rest of the work.


Leave a comment
This site is protected by hCaptcha and the hCaptcha Privacy Policy and Terms of Service apply.