

David Newman | CEO & Founder, Rx Smart Gear
I've spent the better part of two decades in the jump rope world — designing ropes, coaching athletes, and watching this simple tool get consistently overlooked in favor of flashier, more expensive equipment.
Treadmills. Rowing machines. Peloton bikes. People will happily drop a thousand dollars on a machine that takes up half a room, when for under a hundred bucks they could have one of the most complete cardiovascular workouts available.
I'm not saying those tools are bad. I'm saying the jump rope is that good.
Here's the thing most people don't realize: jumping rope isn't just cardio. Done correctly, it's a full-body conditioning tool that simultaneously trains your cardiovascular system, challenges your coordination and timing, strengthens your calves, core, and shoulders, and improves your foot speed and agility. It's what I call a neurological workout as much as a physical one — your brain has to stay locked in, which means the time flies by in a way that a 45-minute treadmill slog simply doesn't.
But — and this is the part that matters — most people are doing it wrong. And that's exactly why they quit.

Start With the Right Rope
Before you even think about technique, you need the right tool. This is where most beginners go wrong from the start.
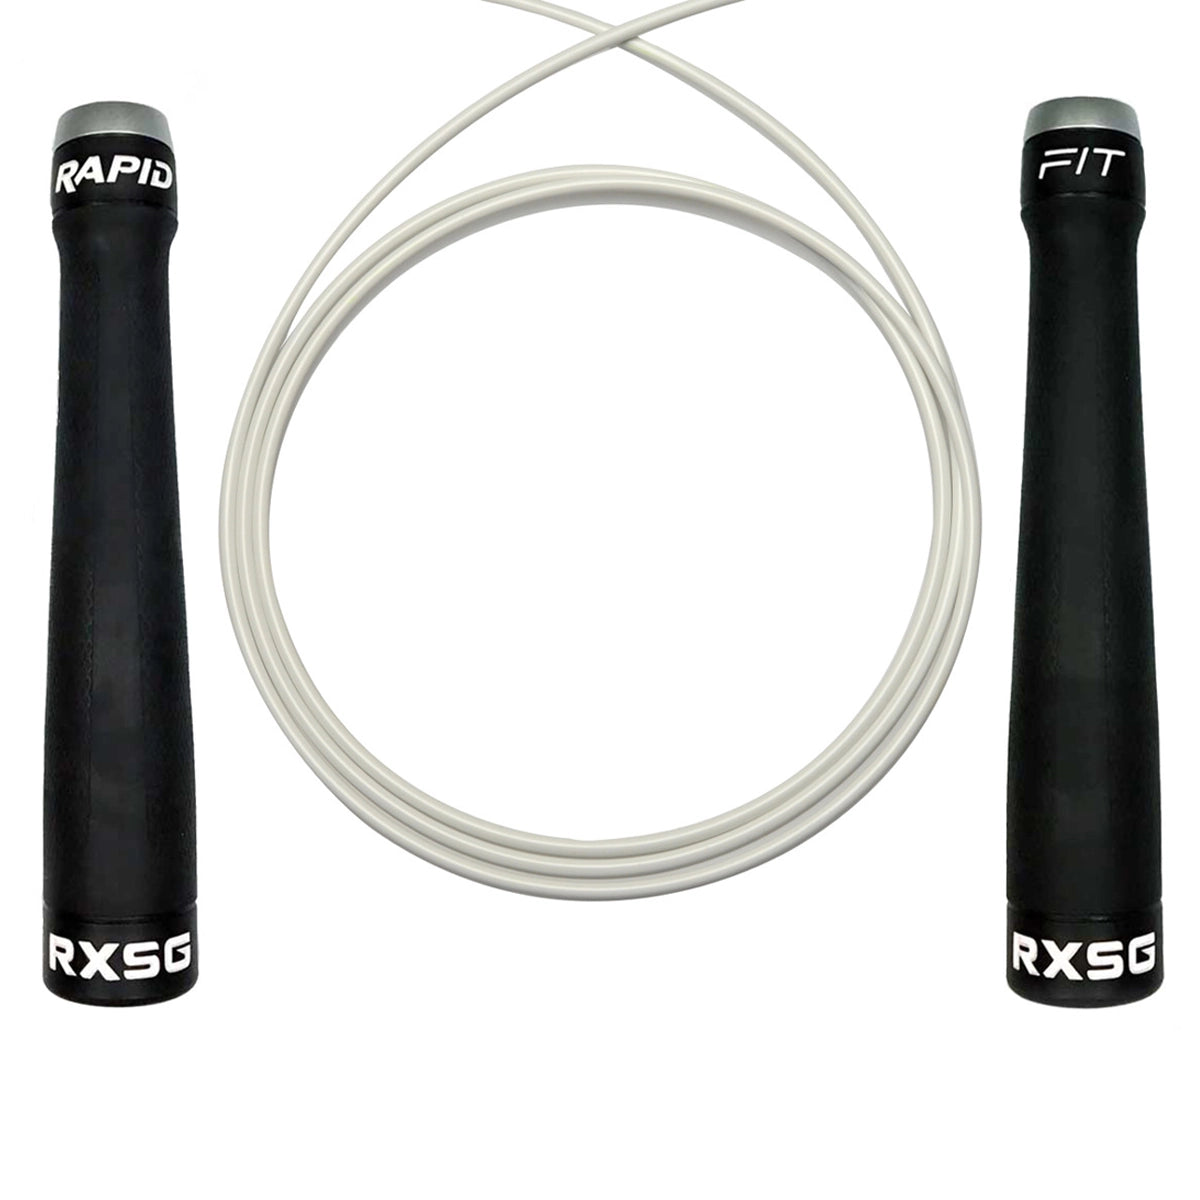
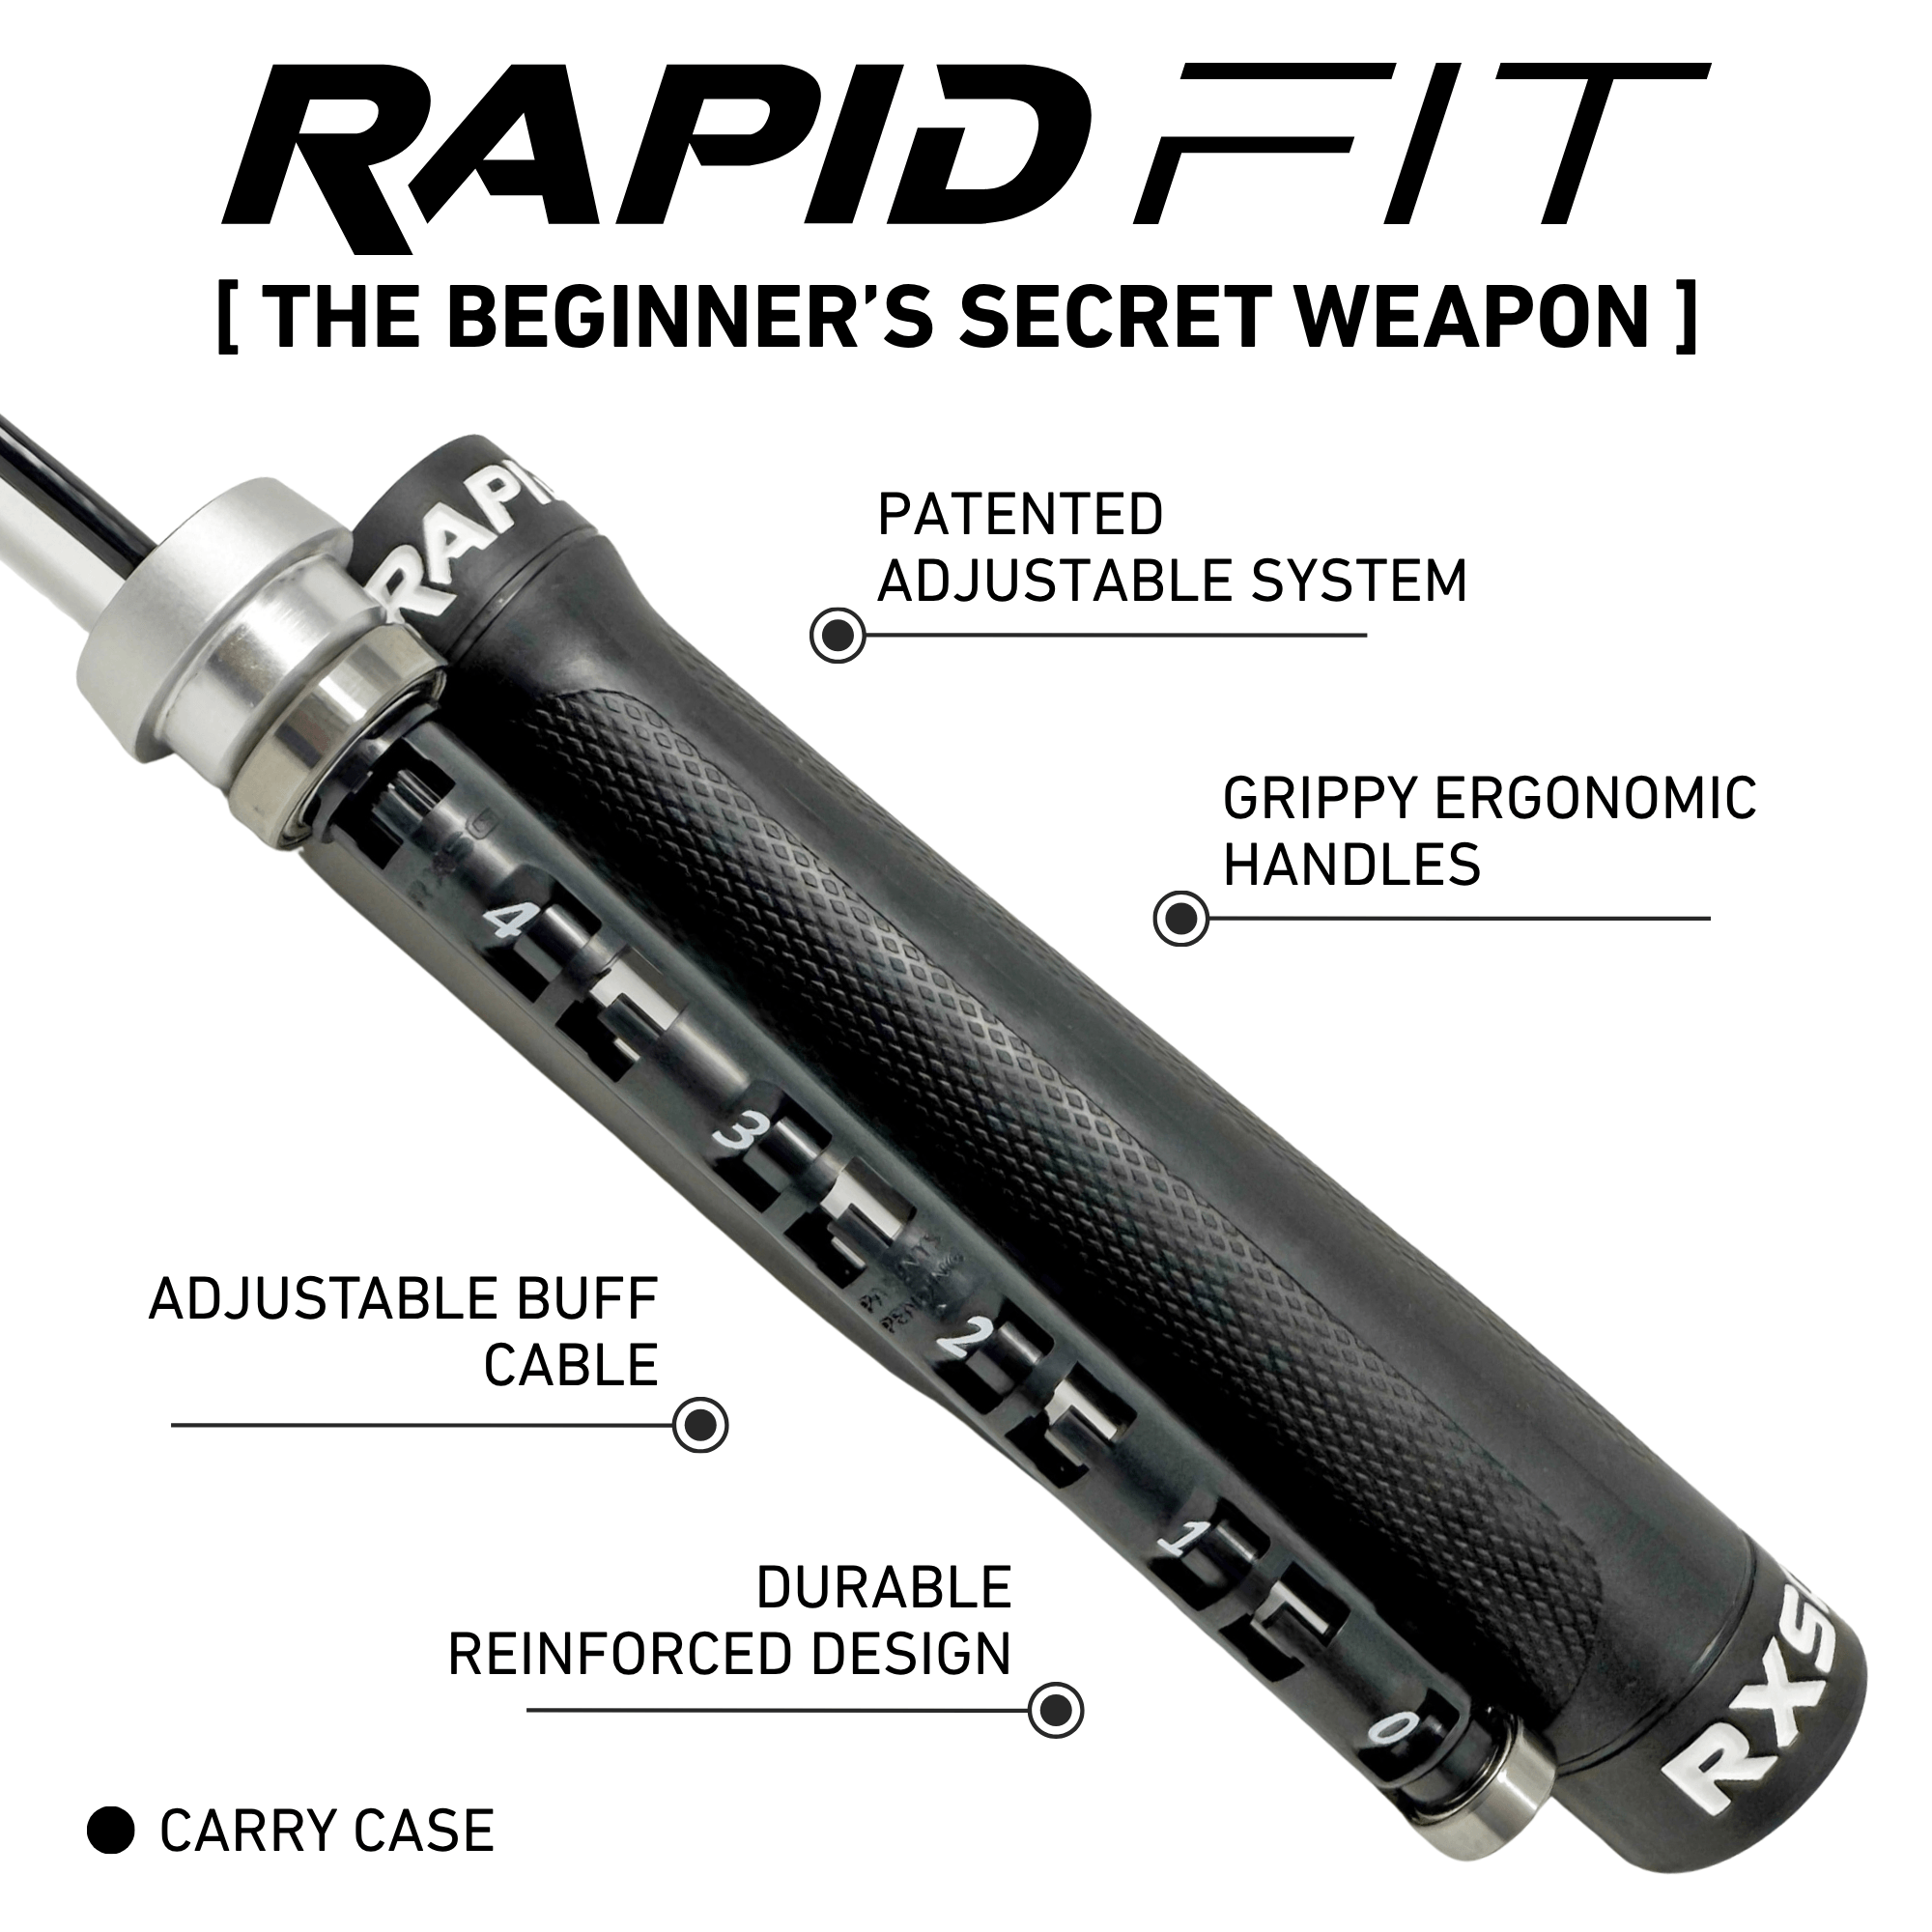
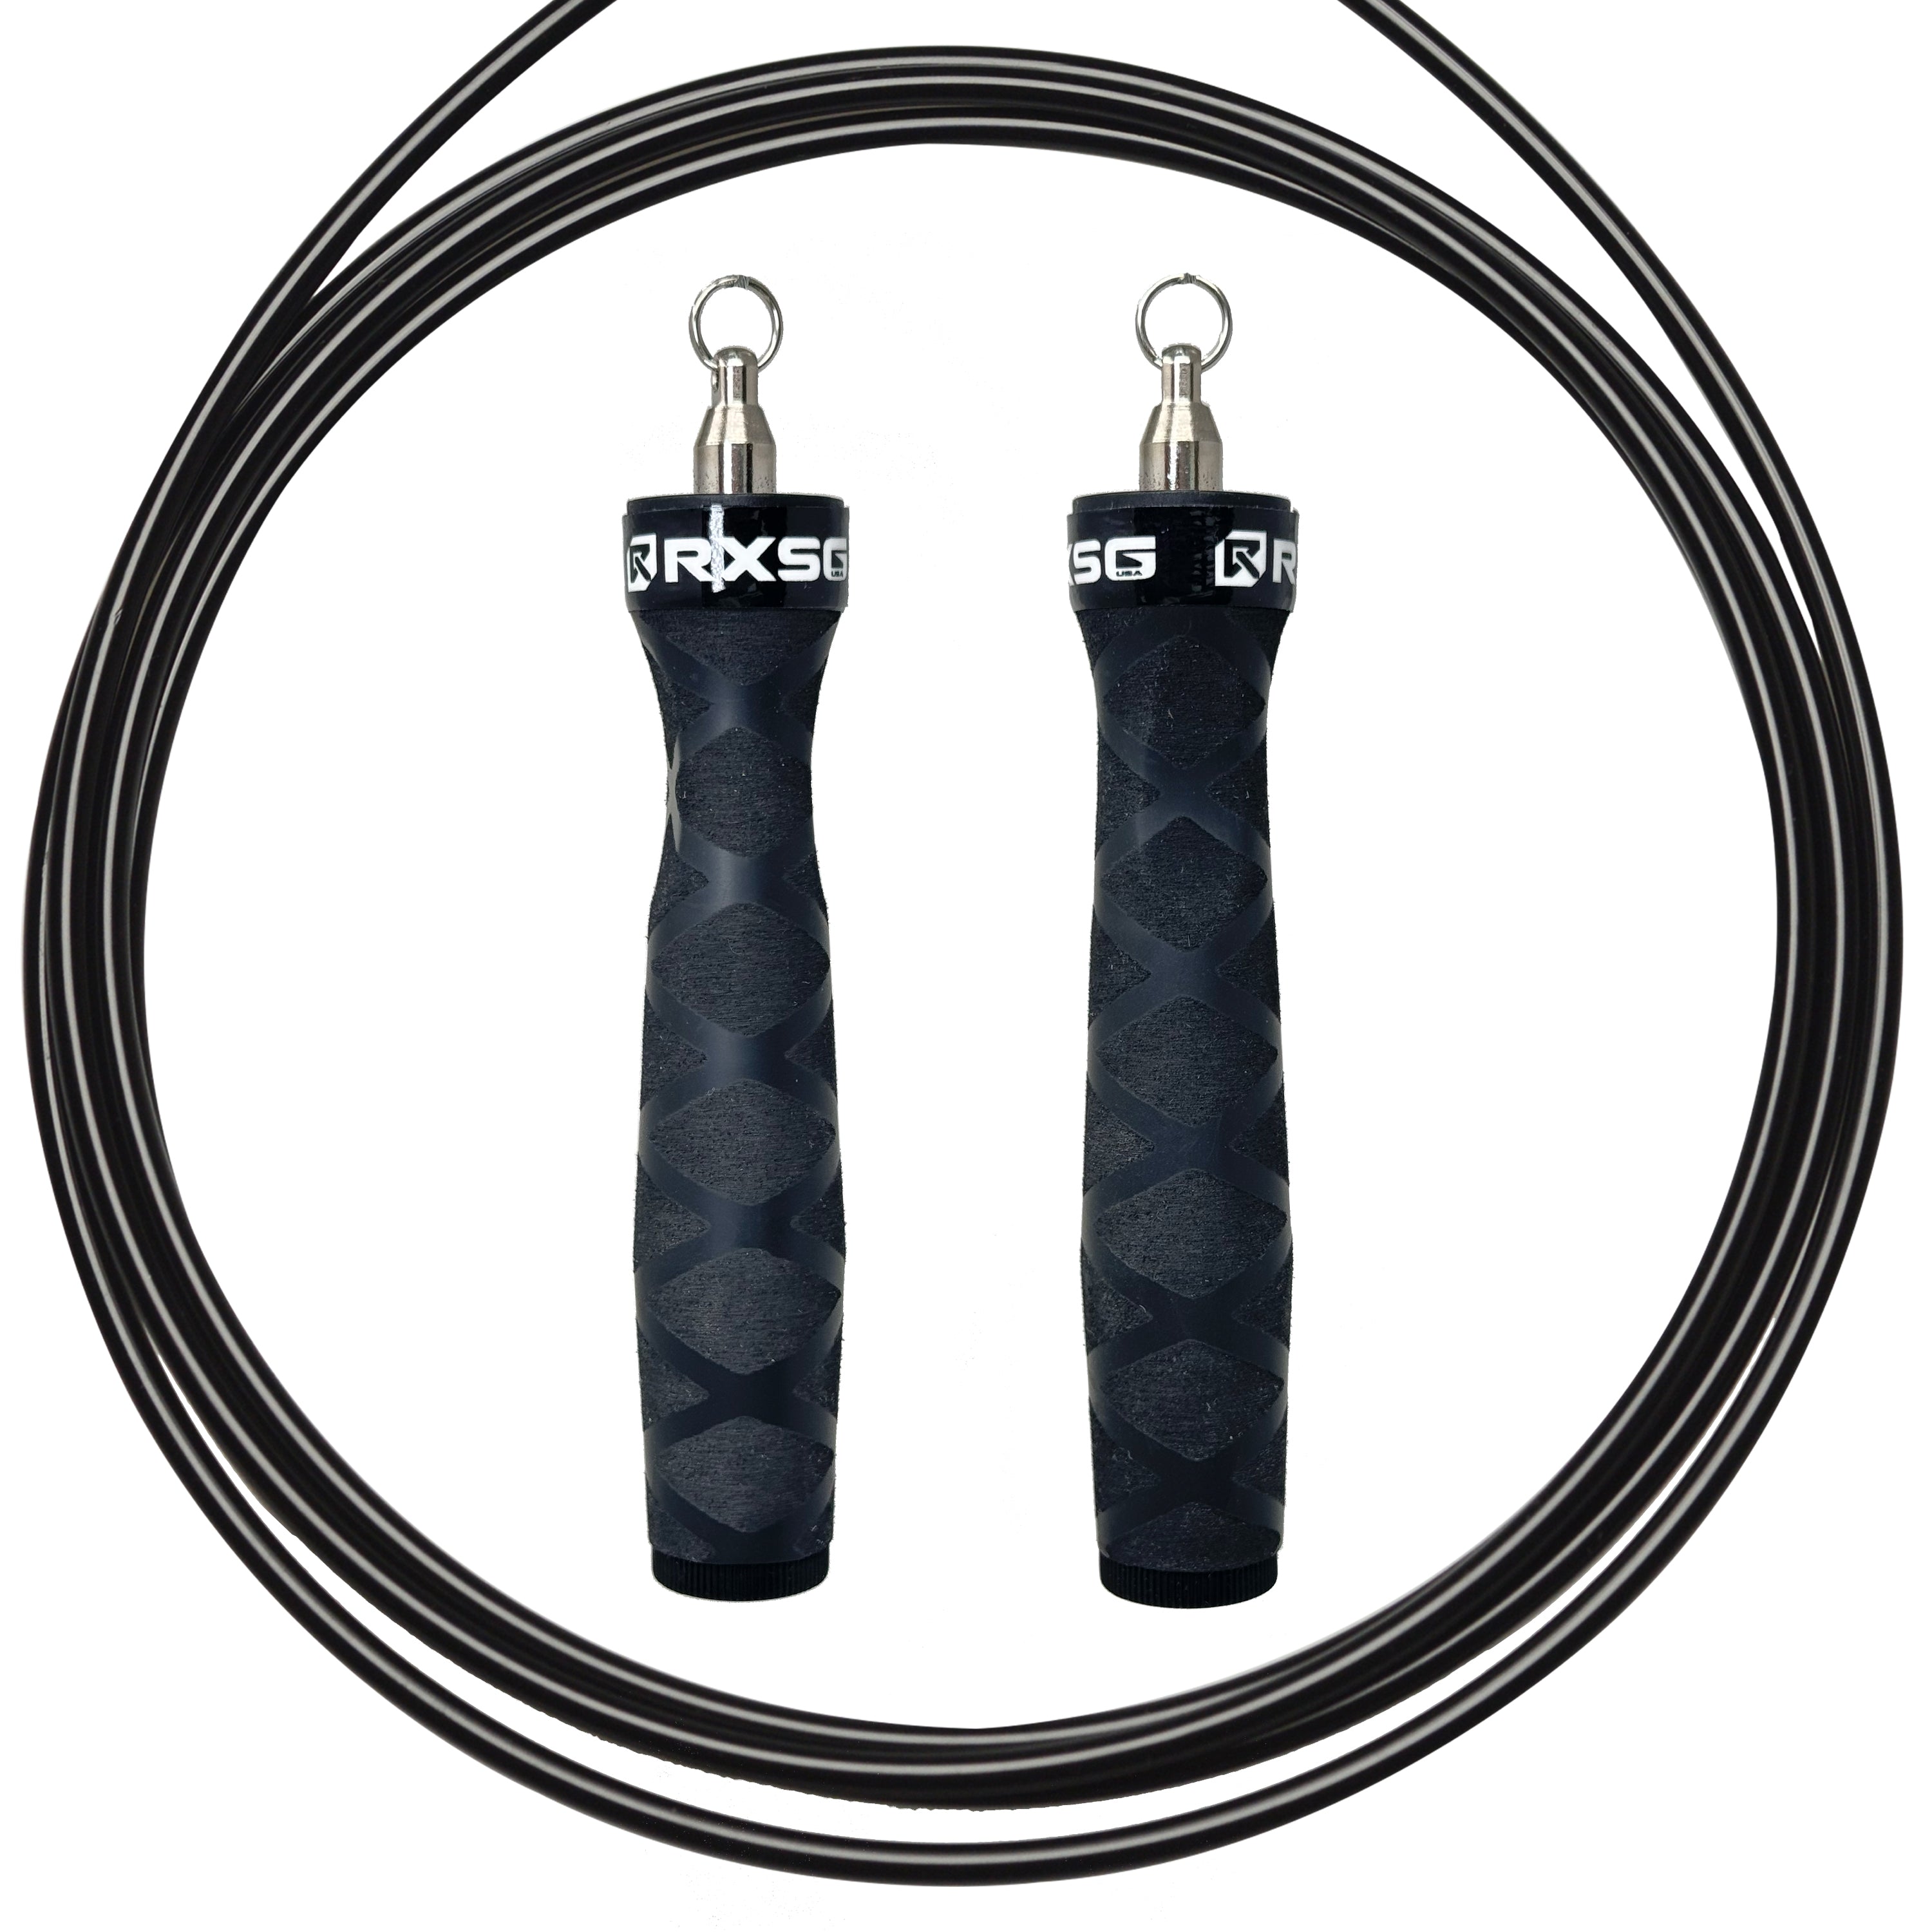





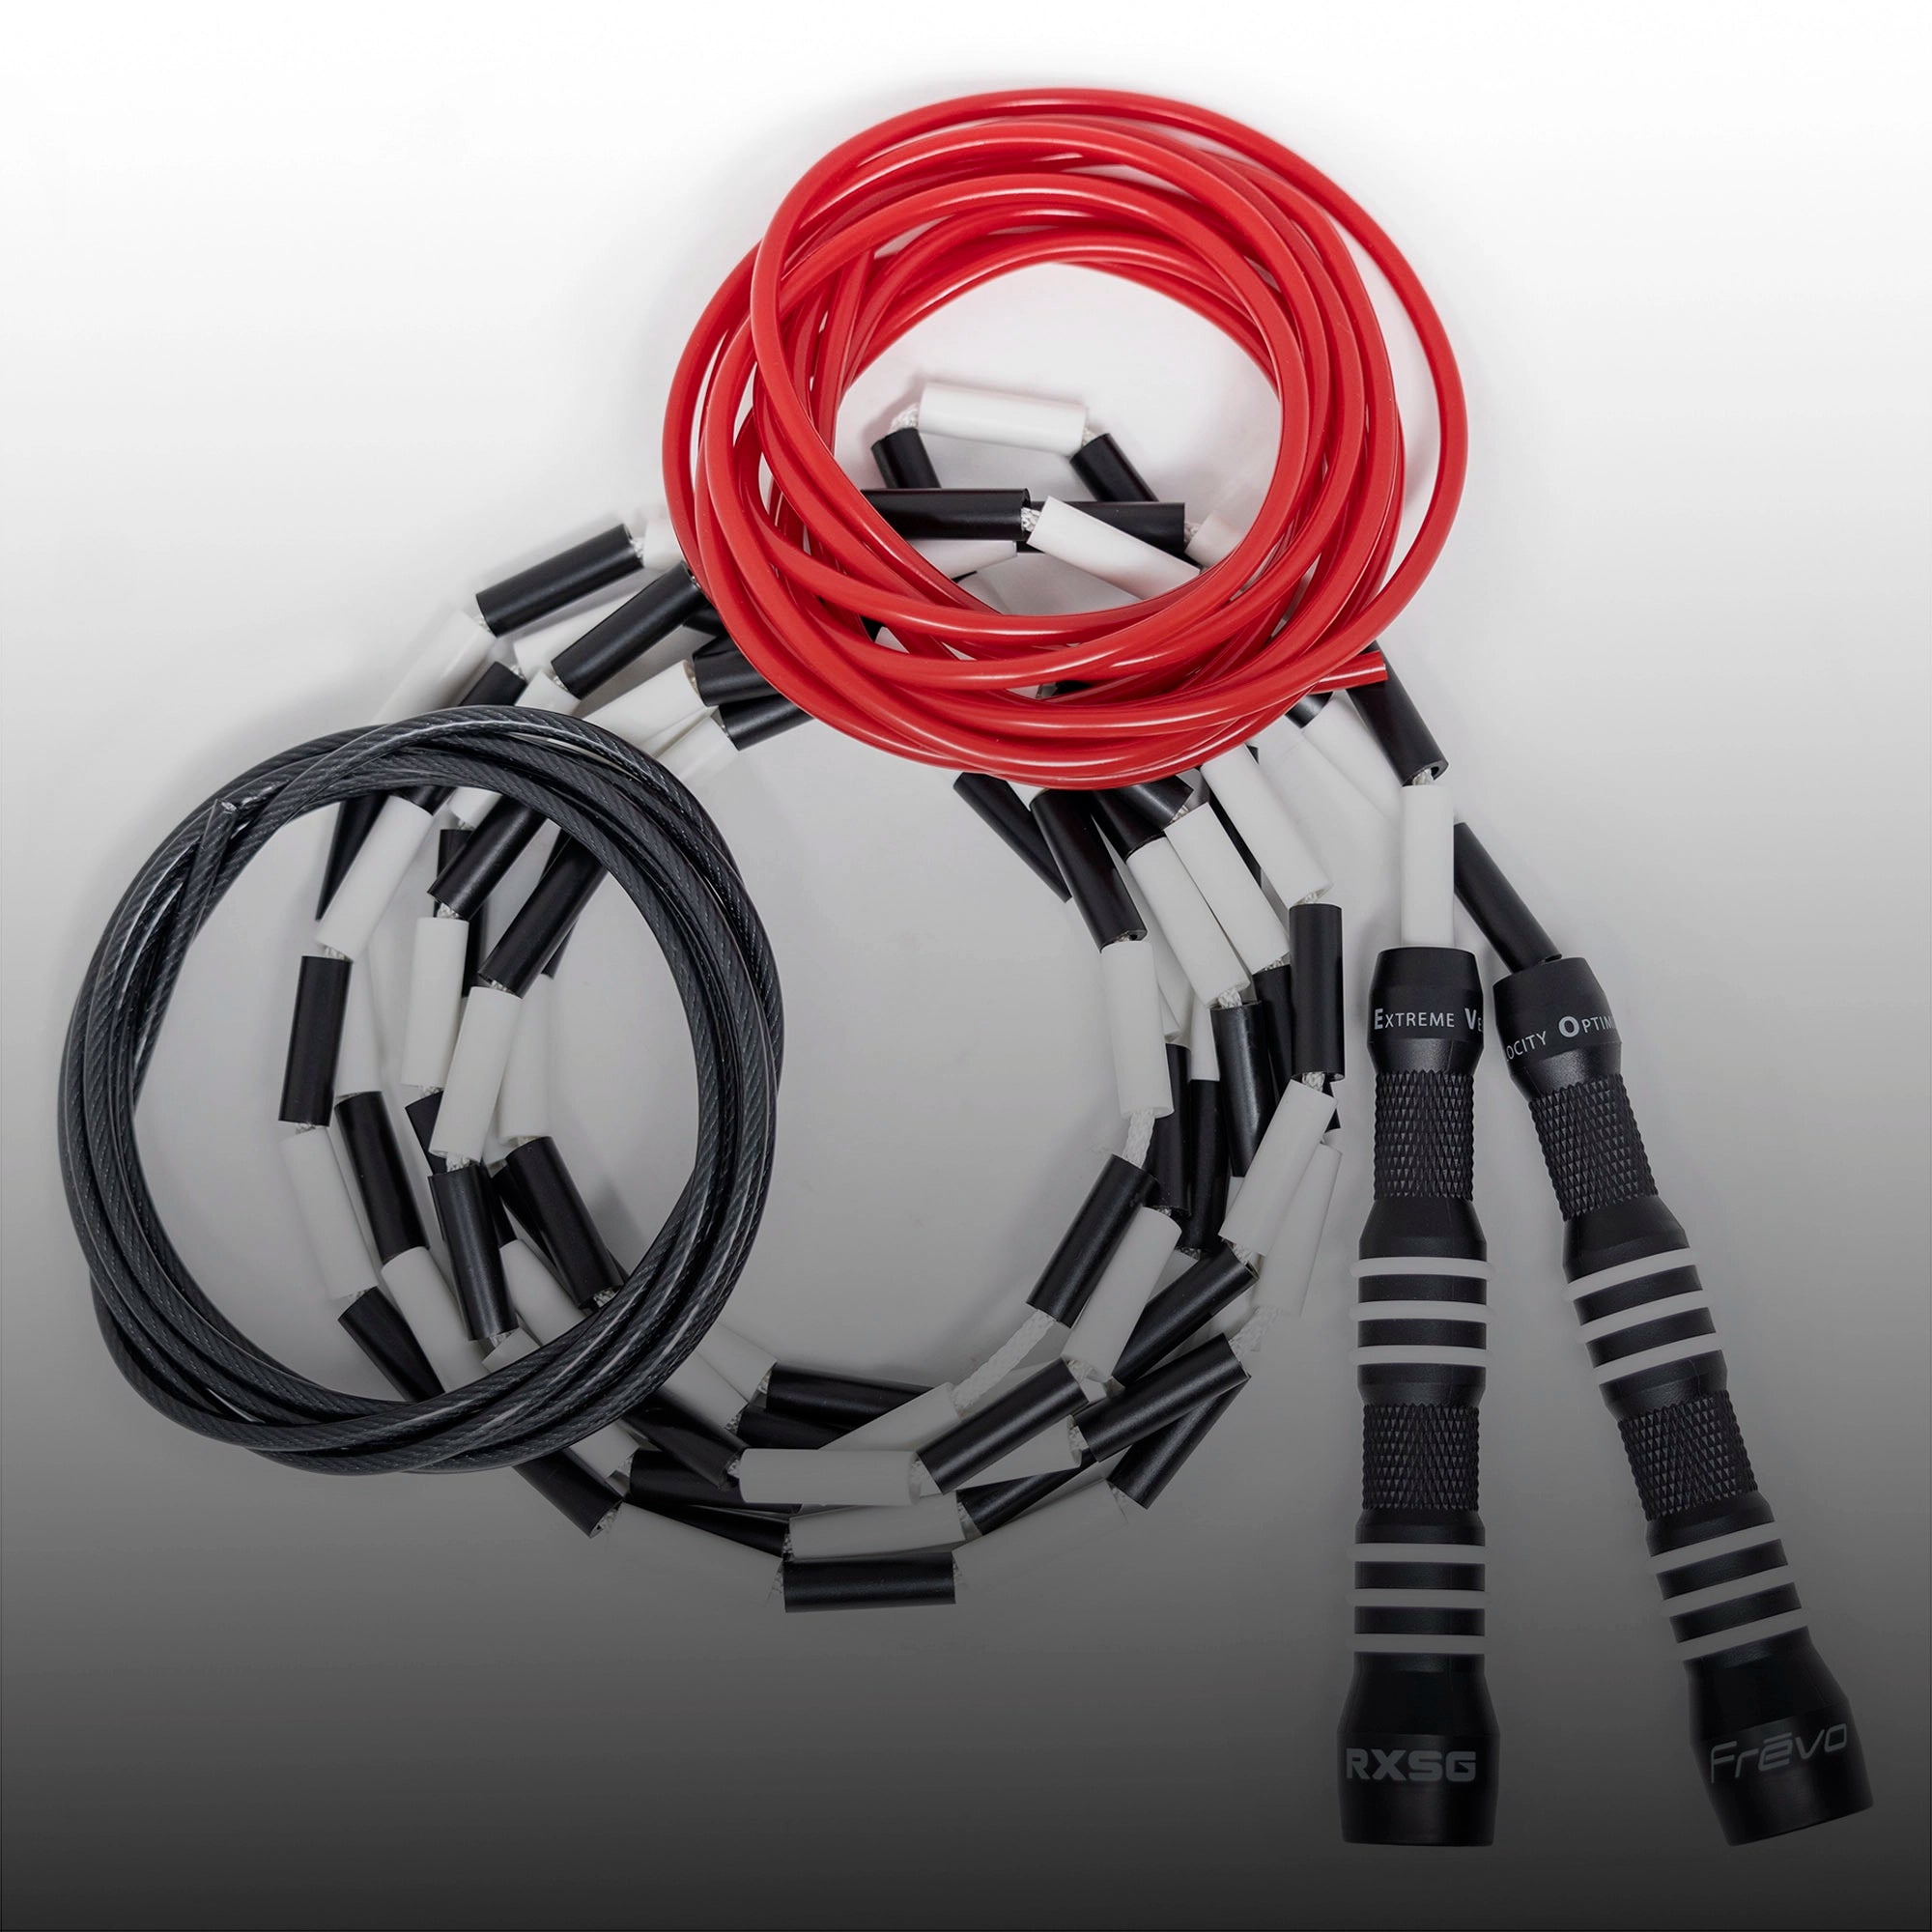
A cheap beaded playground rope is fine for a kid at recess. For adults who want a real workout, you want a cable-based rope to get started with.
Why cable? Because unlike a PVC or fabric rope, a cable holds its shape and doesn't stretch. That consistency matters enormously once you start picking up speed or working on timing
For beginners, I always recommend a cable that weighs somewhere between 3 and 4 ounces. Light enough to move quickly, heavy enough to give you feedback. You want to feel the rope — that feedback is what trains your timing.
Fit matters just as much as construction.
Stand on the center of the rope with one foot, hold the handles parallel to the ground, and pull the cable straight up. The ends of the cable should reach somewhere at or just below your sternum. That's your baseline. From there, you can fine-tune by an inch or two depending on your preference and skill level. A longer rope gives you more forgiveness as a beginner; a shorter rope forces efficiency and speed as you advance.
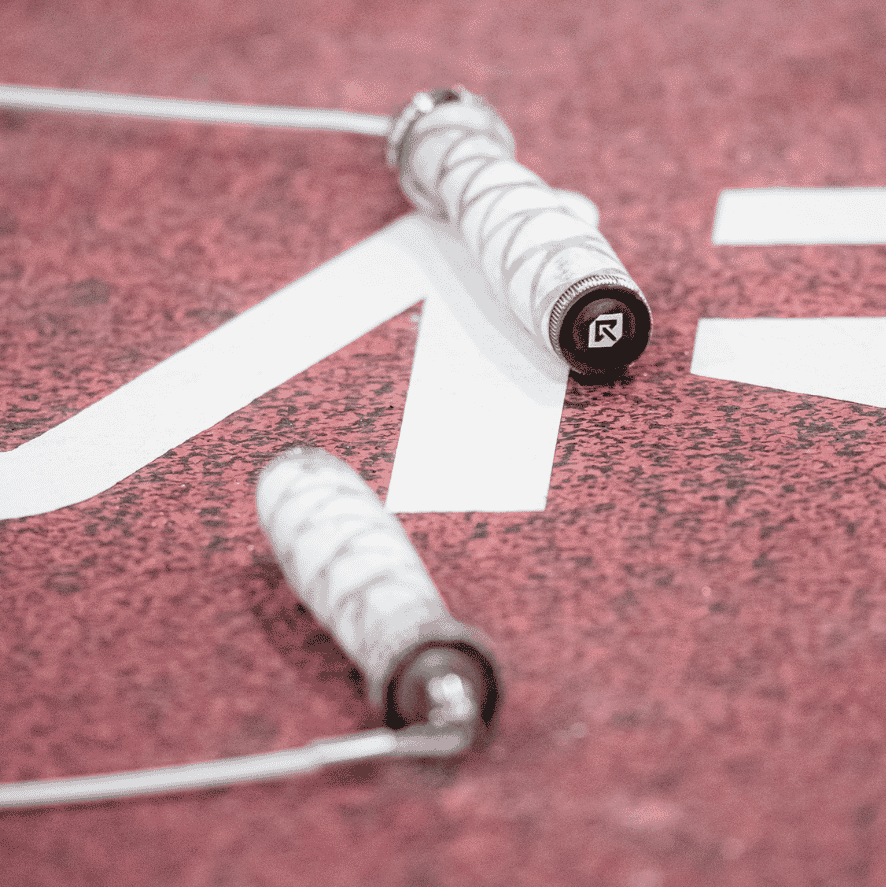
The handles matter too.
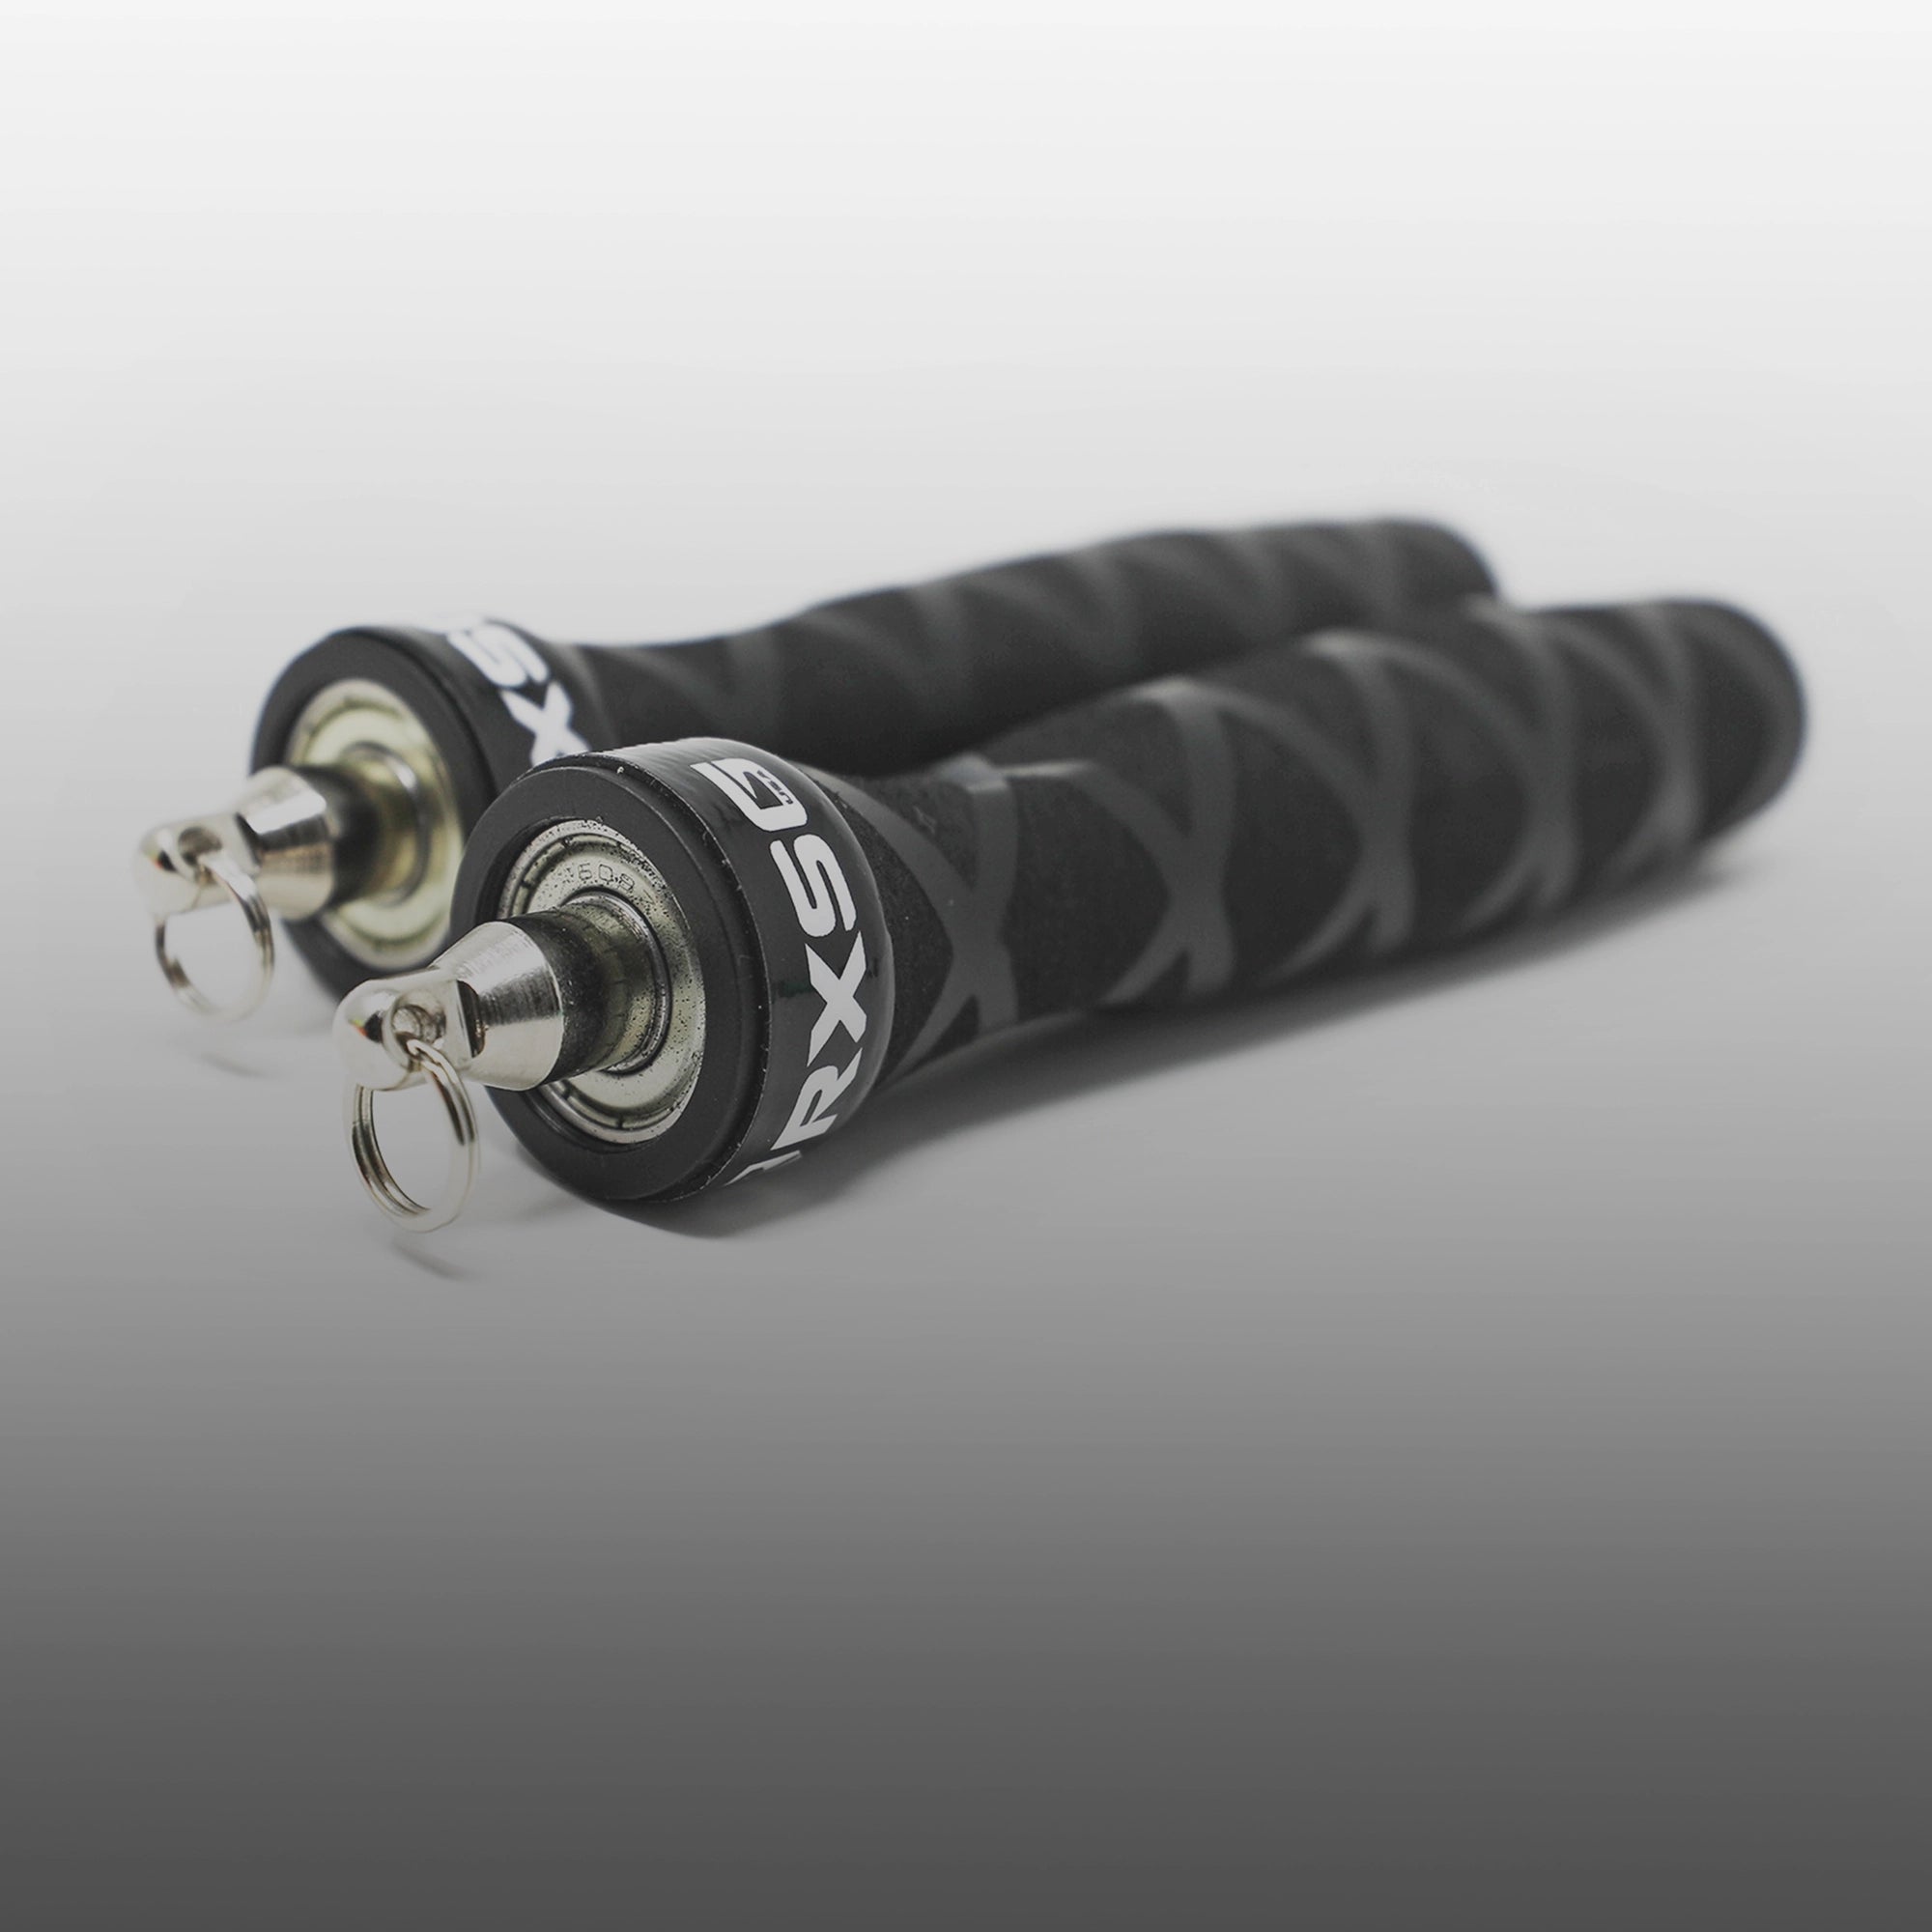
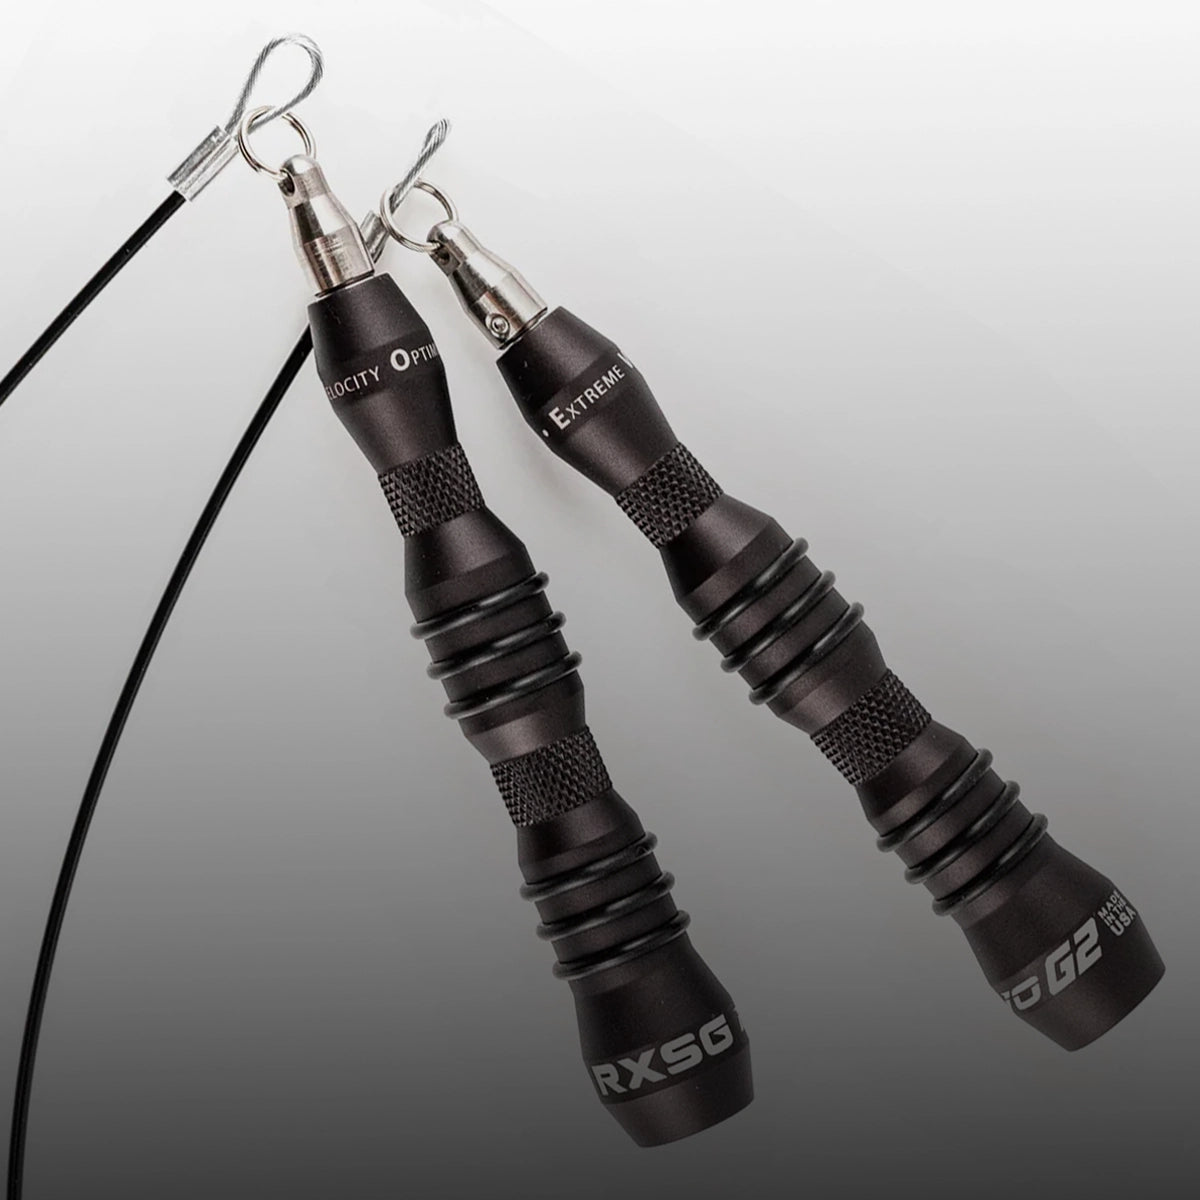
Cheap ropes use a basic knot or a synthetic bushing — these work, but they limit how fast the rope can spin. Quality handles use precision bearings that let the rope rotate freely and smoothly around you without resistance. That's not a luxury feature; it's what separates a workout that flows from one that constantly trips you up.
The Most Common Form Mistake (And It's Easy to Fix)
Once you have the right rope, the single biggest mistake I see — even in experienced athletes — is hand position.
People let their hands drift out wide, arms extended out to the sides like they're trying to fly. It feels natural, but it's working against you. When your hands are out wide, you're effectively shortening the rope in the air. The arc gets tighter, the timing gets harder, and you'll catch your feet more often. It's the number one reason beginners get frustrated and give up.
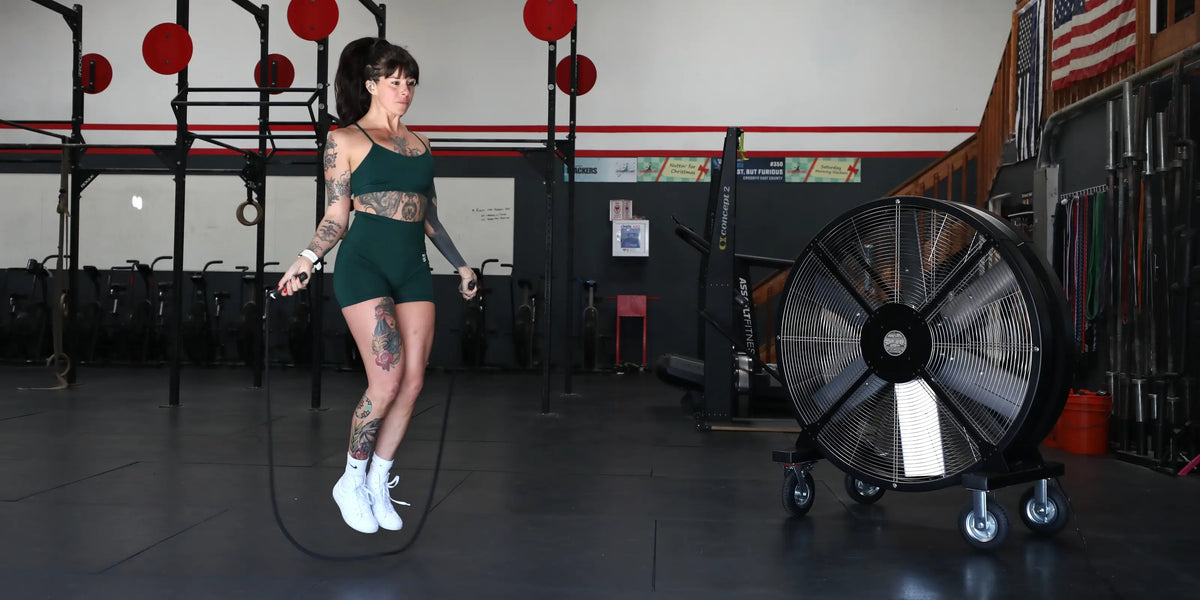
Instead, keep your hands in close — thumbs pointing outward, forearms facing forward, handles lightly gripped between your thumb and index finger. Your other fingers just provide gentle support. You're not death-gripping the handles; you're guiding them. The motion comes from your wrists, moving in small, tight circles — think of the way the wheels on an old steam train rotate. Compact. Efficient. Rhythmic.
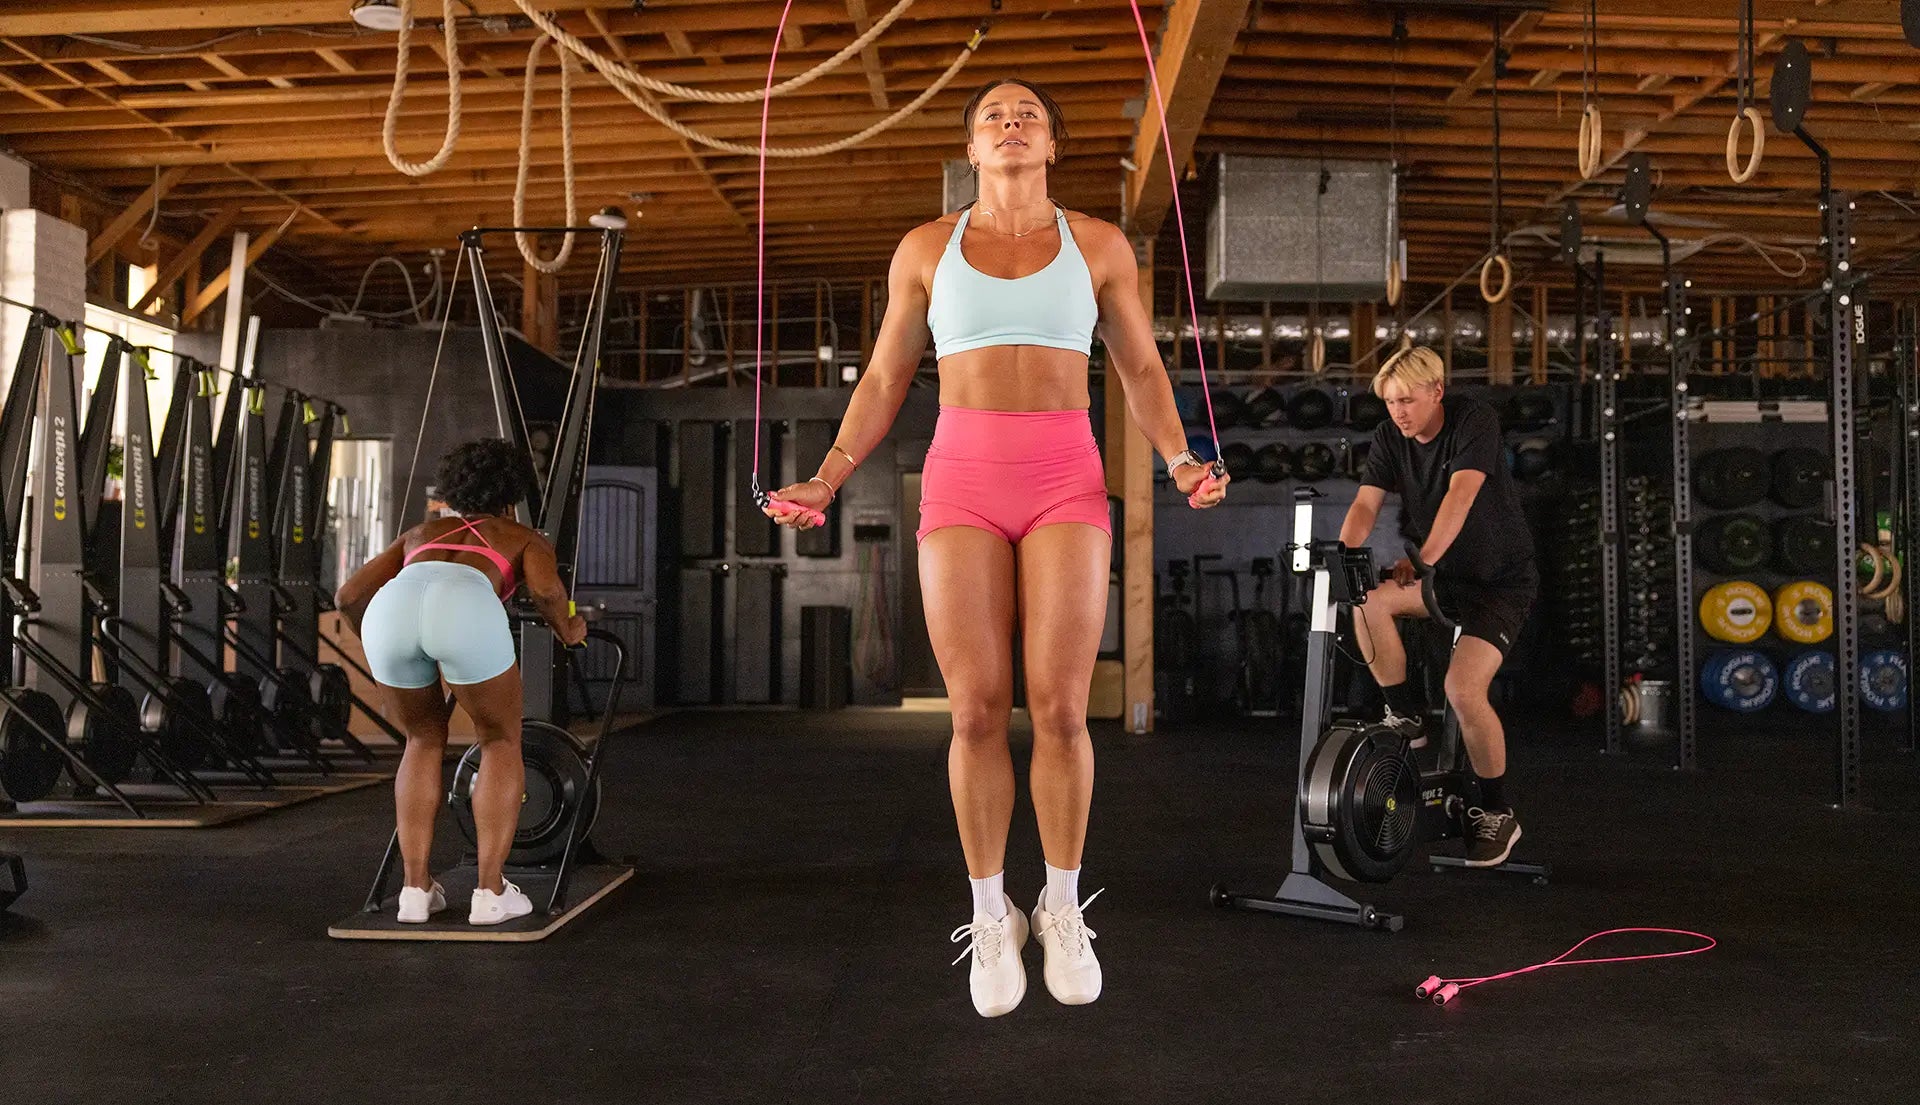
Your jump itself should be minimal. You only need to clear the rope, which means you only need to get an inch or two off the ground. Small, quick hops on the balls of your feet — not big bounding leaps. The bigger your jump, the more energy you waste and the harder it is to maintain tempo.
How to Start If You're Brand New
If it's been a while since you've picked up a rope — or if you've never really trained with one — start with what I call a toe catch. Begin with the rope behind you, resting against your calves. Hands are in front, elbows in, handles pointing forward. Do one big swing to get momentum going, find your rhythm, and then settle in. Don't try to go fast. Don't try to do tricks. Just find the beat and stay with it.
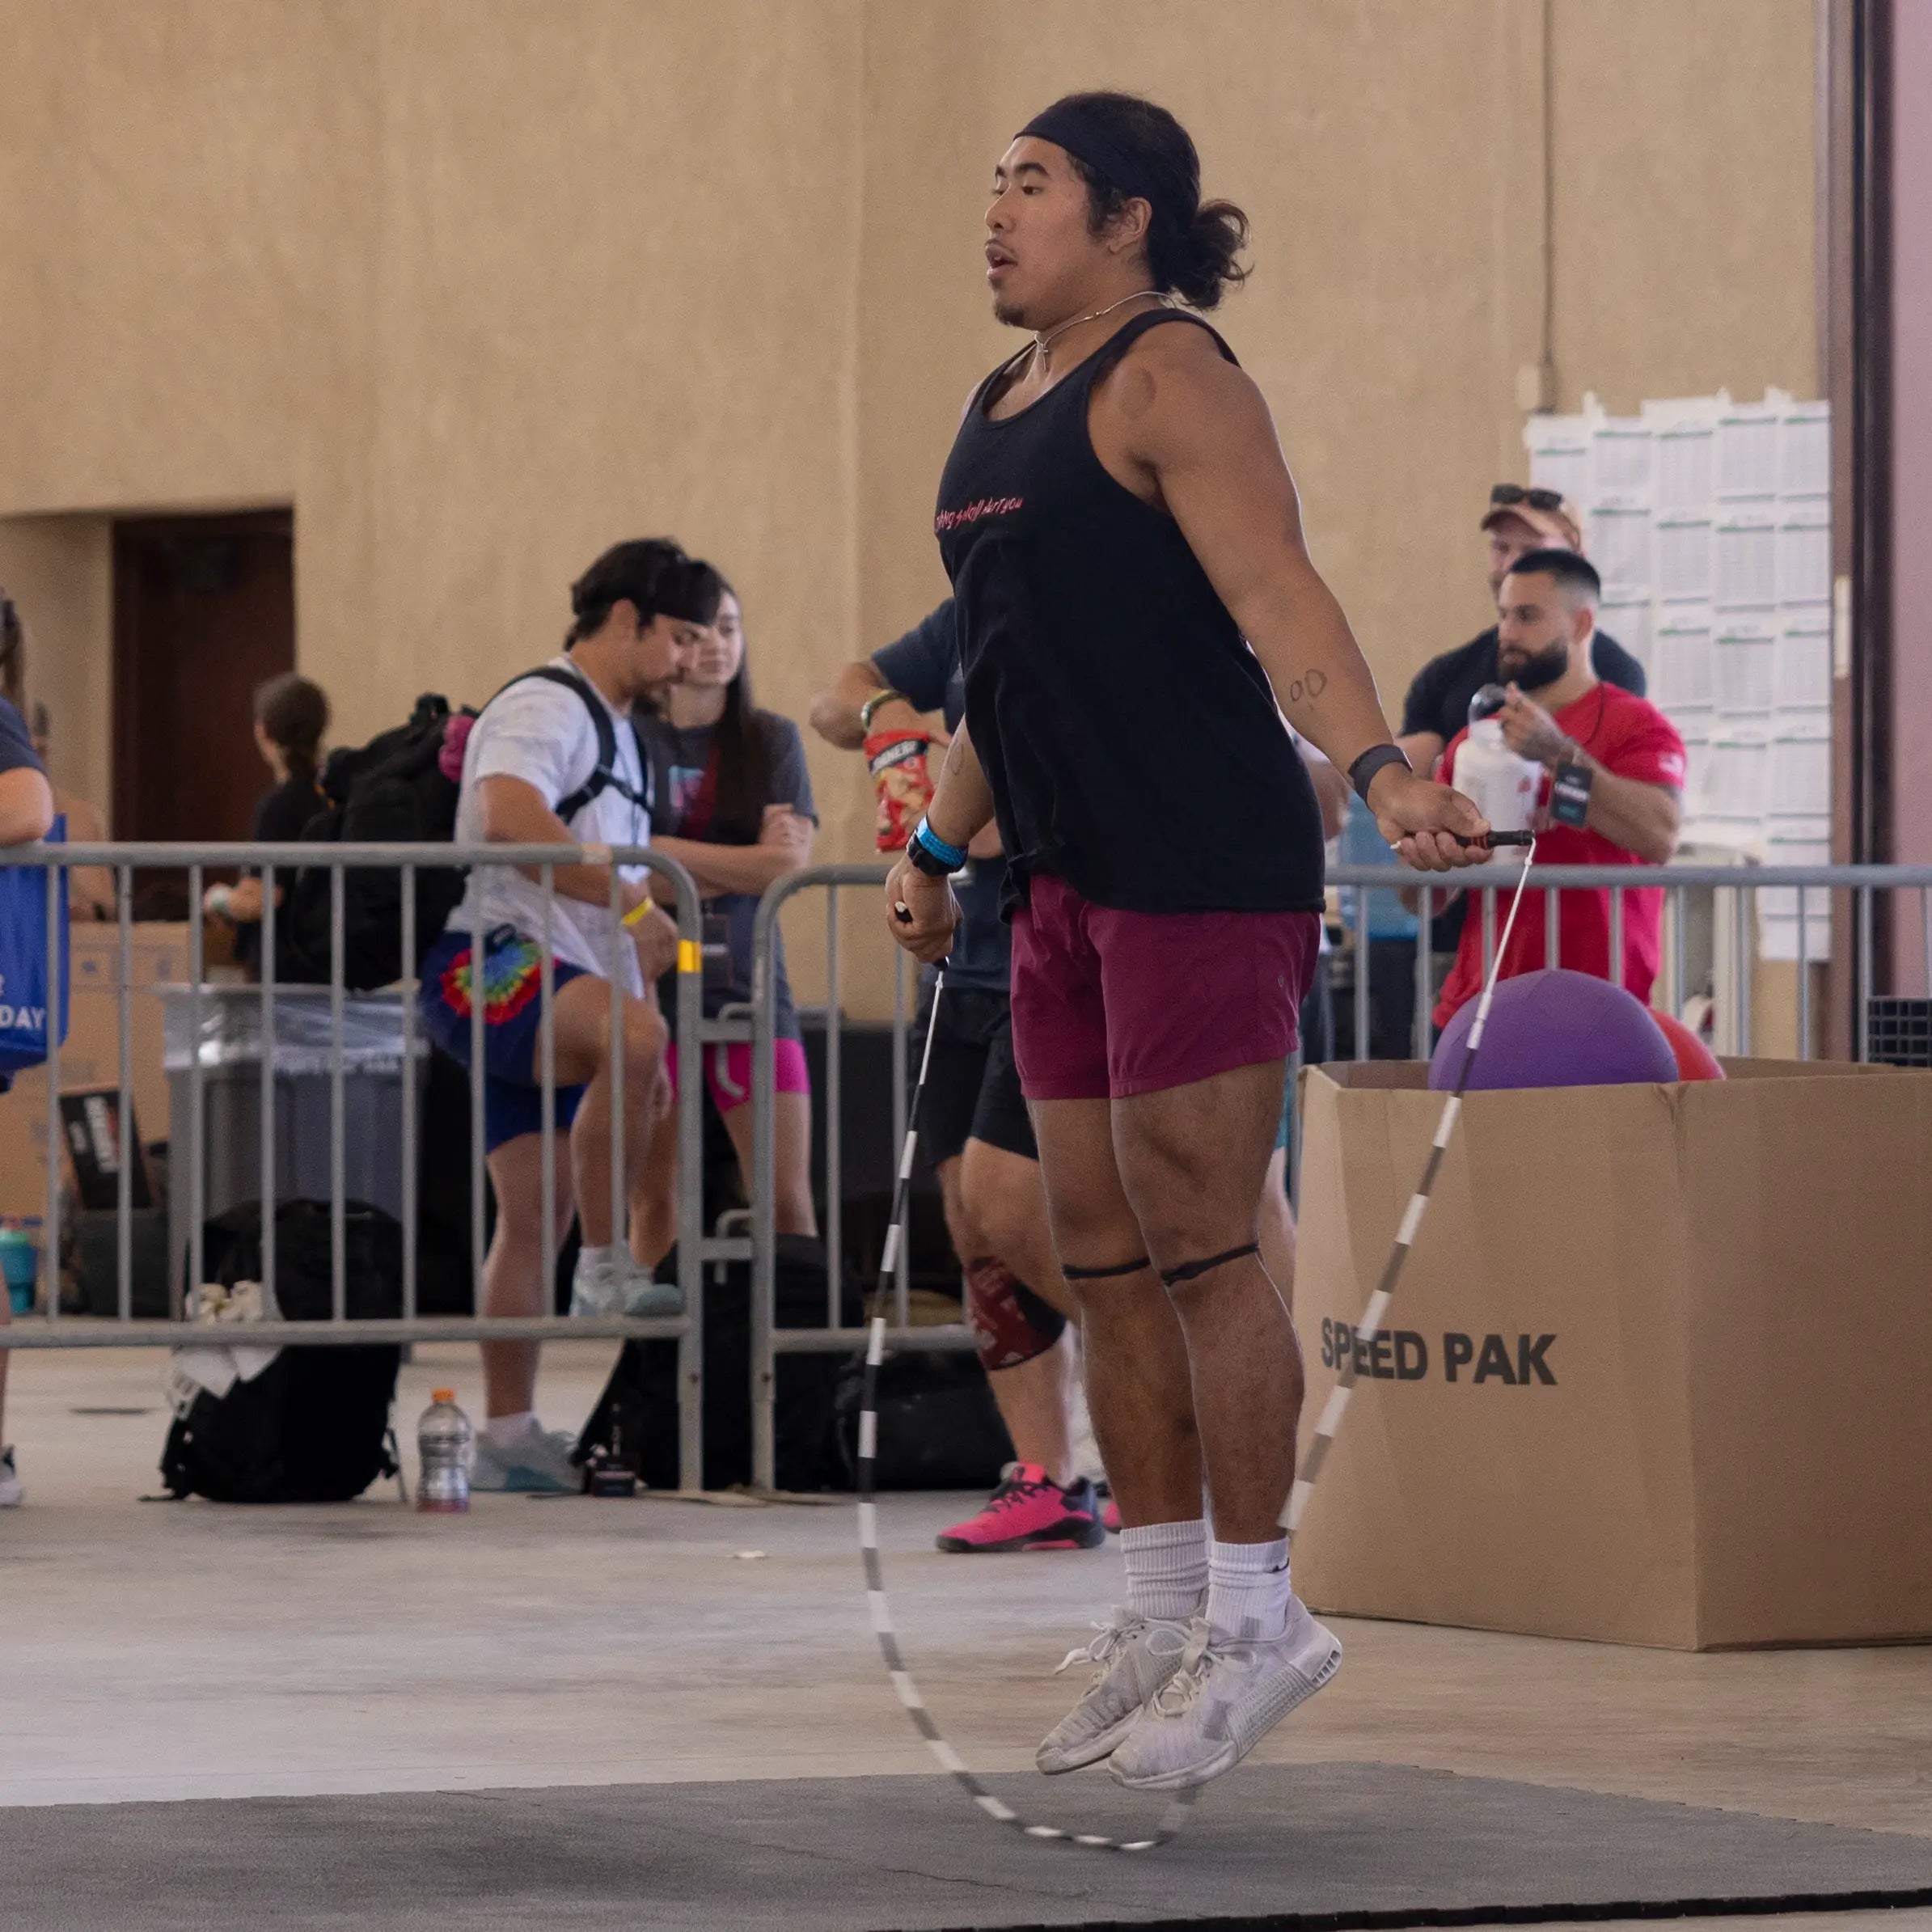
A few minutes of this will humble most people, and that's okay.
Jump rope is harder than it looks, which is exactly why it works so well. Your heart rate will climb quickly because your entire body is engaged — legs absorbing impact, core stabilizing, arms driving the rope, mind tracking the timing.
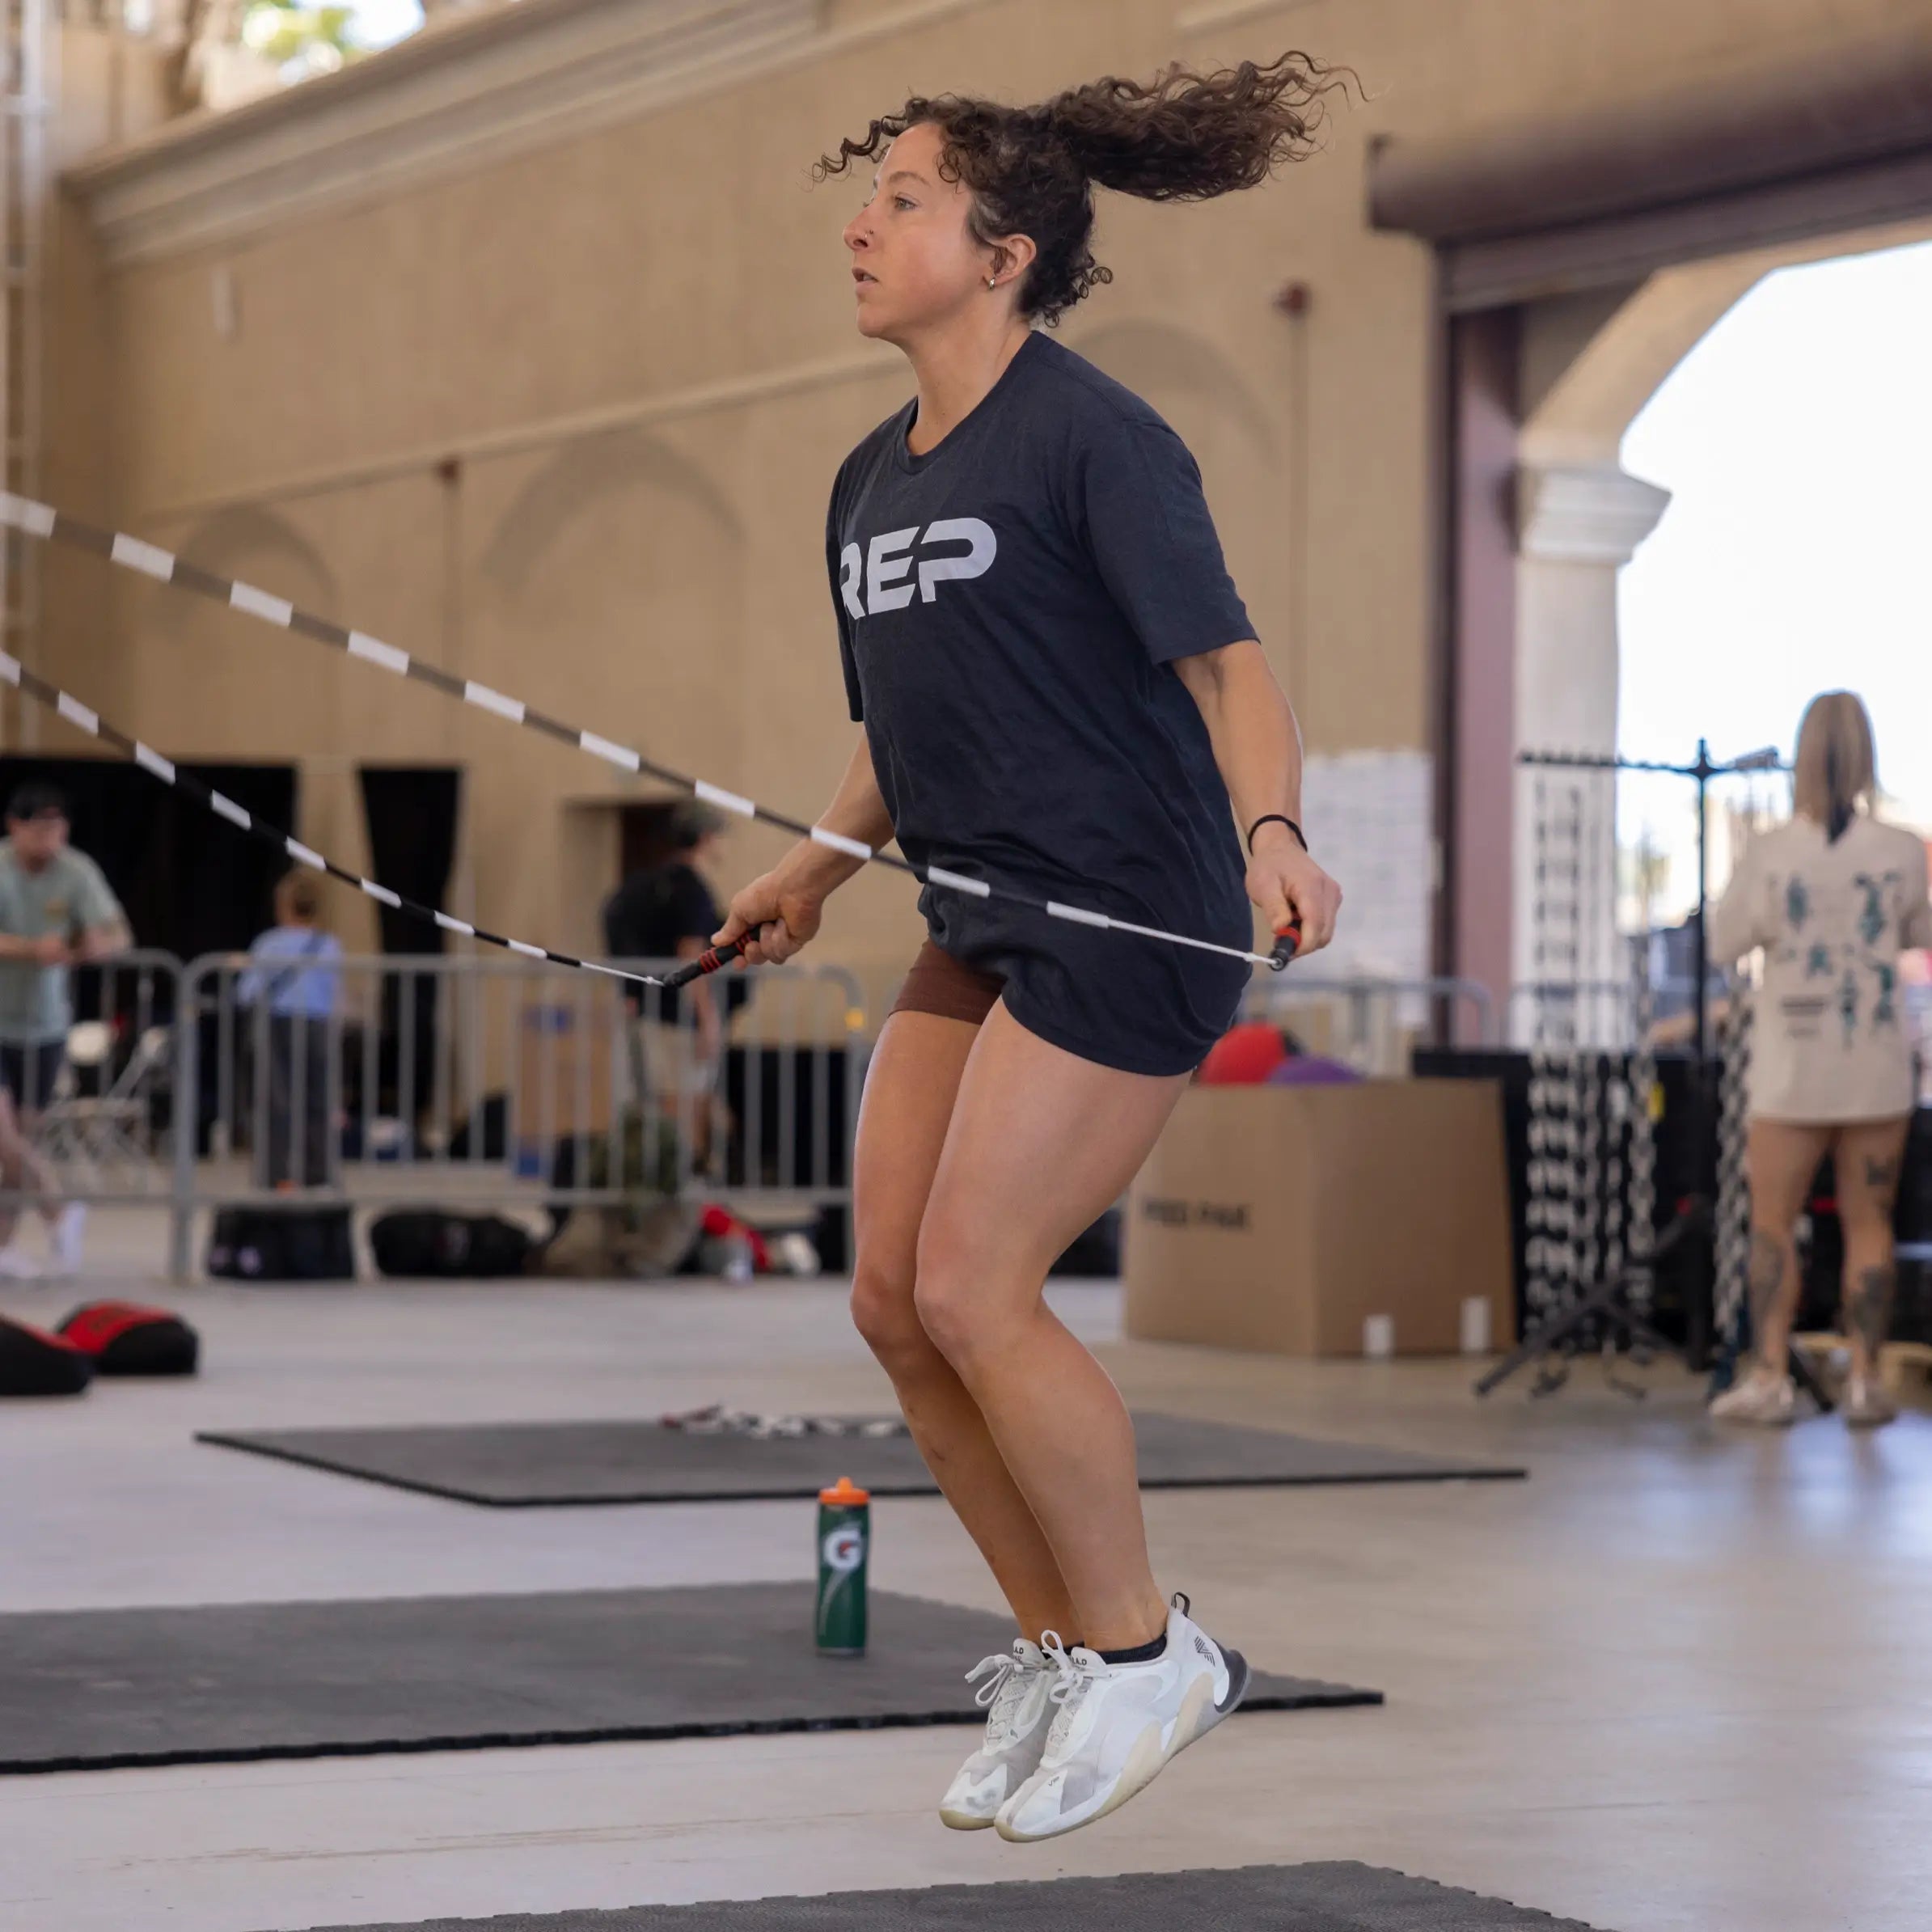
Start with short intervals.
Two minutes on, one minute off. Three rounds is plenty to start. As your coordination improves and your conditioning builds, you extend the work periods and reduce the rest. Within a few weeks, most people are surprised by how quickly they progress.
Why Jump Rope Belongs in Every Fitness Routine
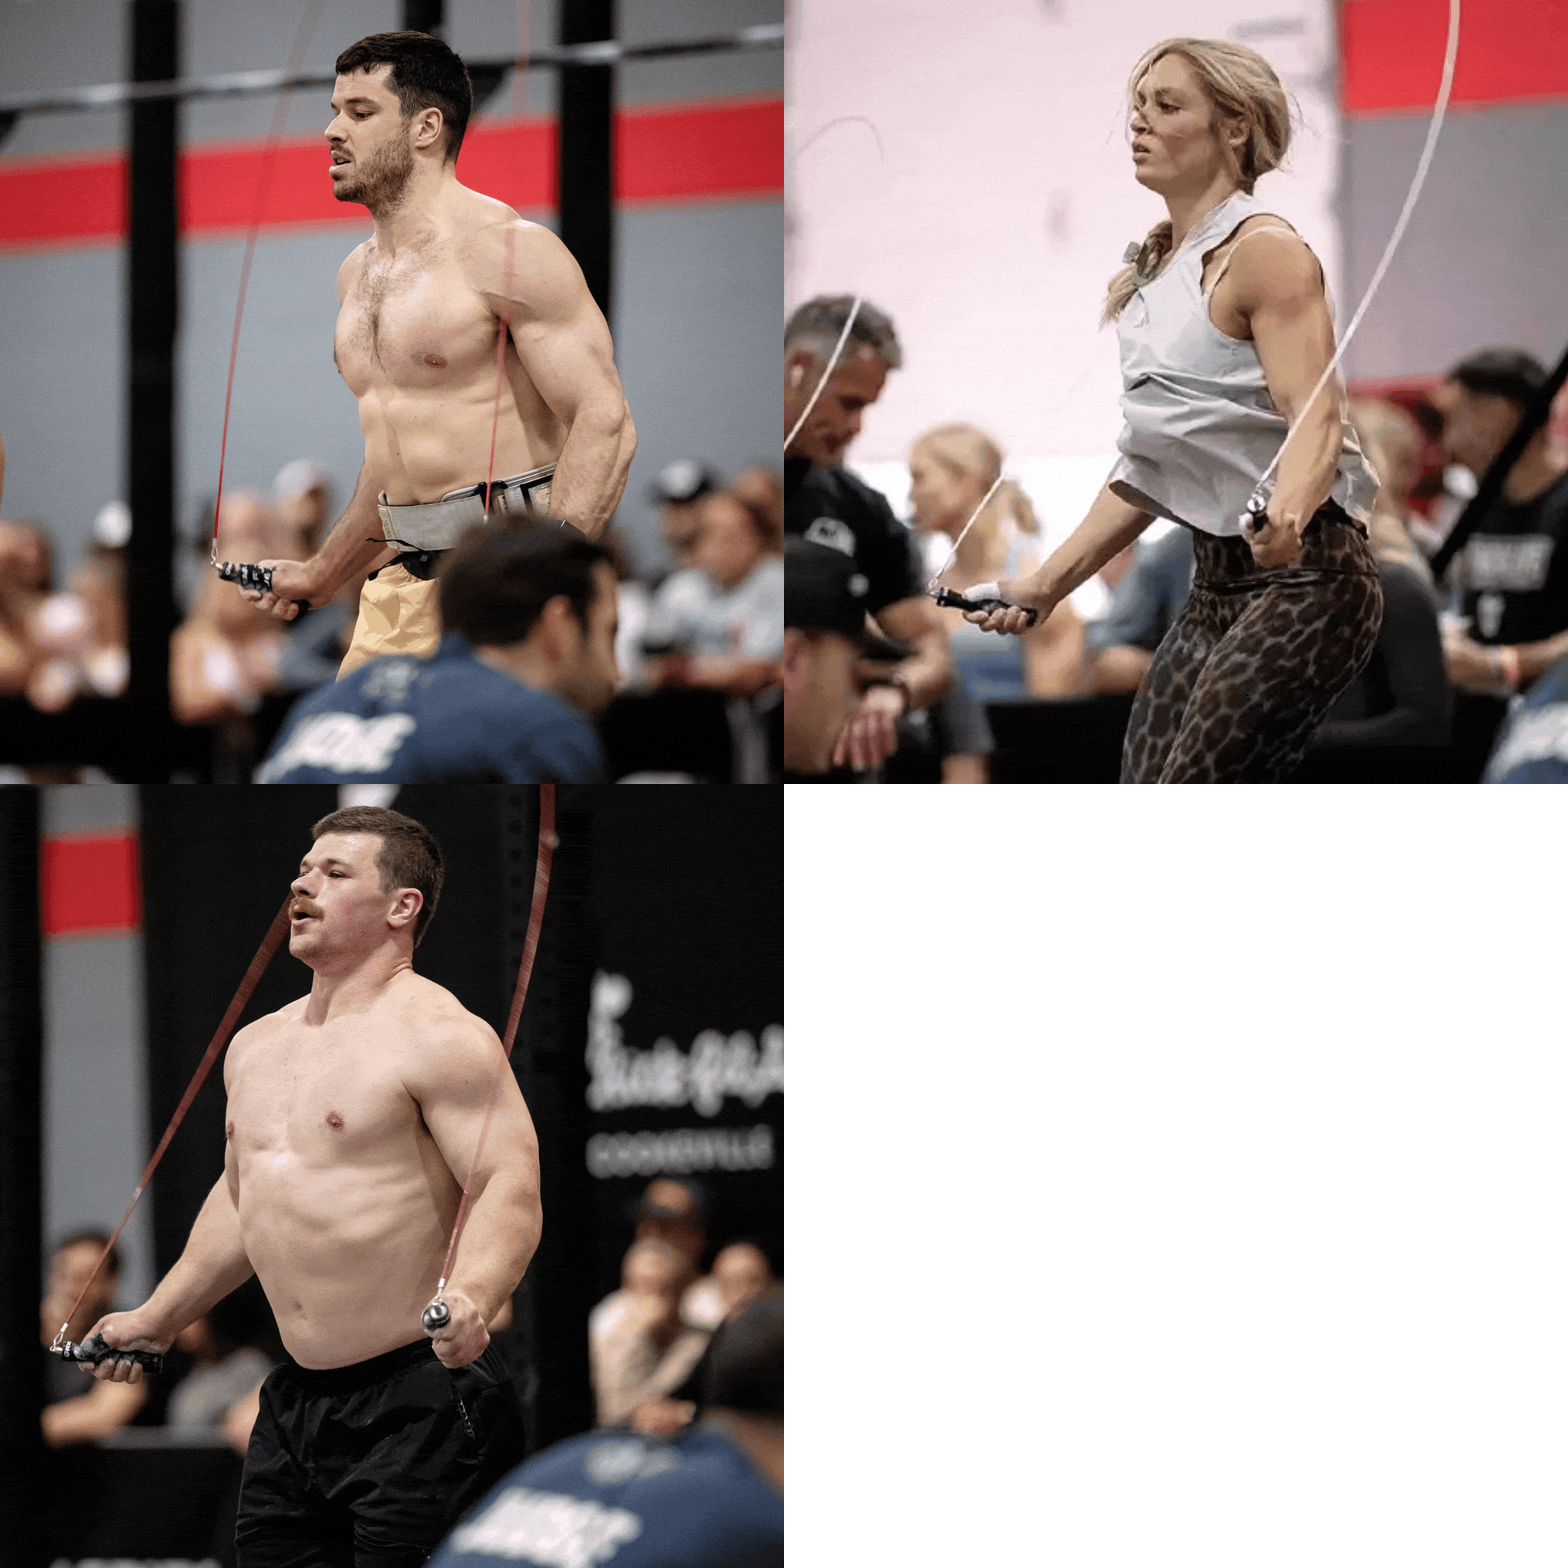
I've worked with everyone from elite CrossFit athletes to complete beginners, and the jump rope adapts to all of them. It scales up and down in intensity in a way almost no other single piece of equipment does. A beginner can use it for low-impact rhythm work. An advanced athlete can push double-unders, speed intervals, or single-leg work that rivals just about anything in a gym.

The calorie burn is real.
At a moderate pace, most people burn 400 to 600 calories in thirty minutes. Push the intensity and that number climbs further. But honestly, I think focusing purely on calories misses the bigger picture. The coordination, timing, footwork, and mental engagement that come with consistent rope training carry over into every other physical activity you do. Athletes in boxing, basketball, soccer, and CrossFit use it because it makes everything else better.

And perhaps most practically, you can do it anywhere.
A rope fits in a carry-on bag. All you need is enough ceiling clearance and a few square feet of floor space. No gym membership, no machine, and no excuses.
A 4-Week Starter Workout Plan
One of the most common questions I get is: "How do I actually structure a jump rope workout?" Here's a progressive four-week plan I'd hand to any beginner walking through the door. The goal isn't to exhaust you in week one — it's to build coordination first, then conditioning on top of it.
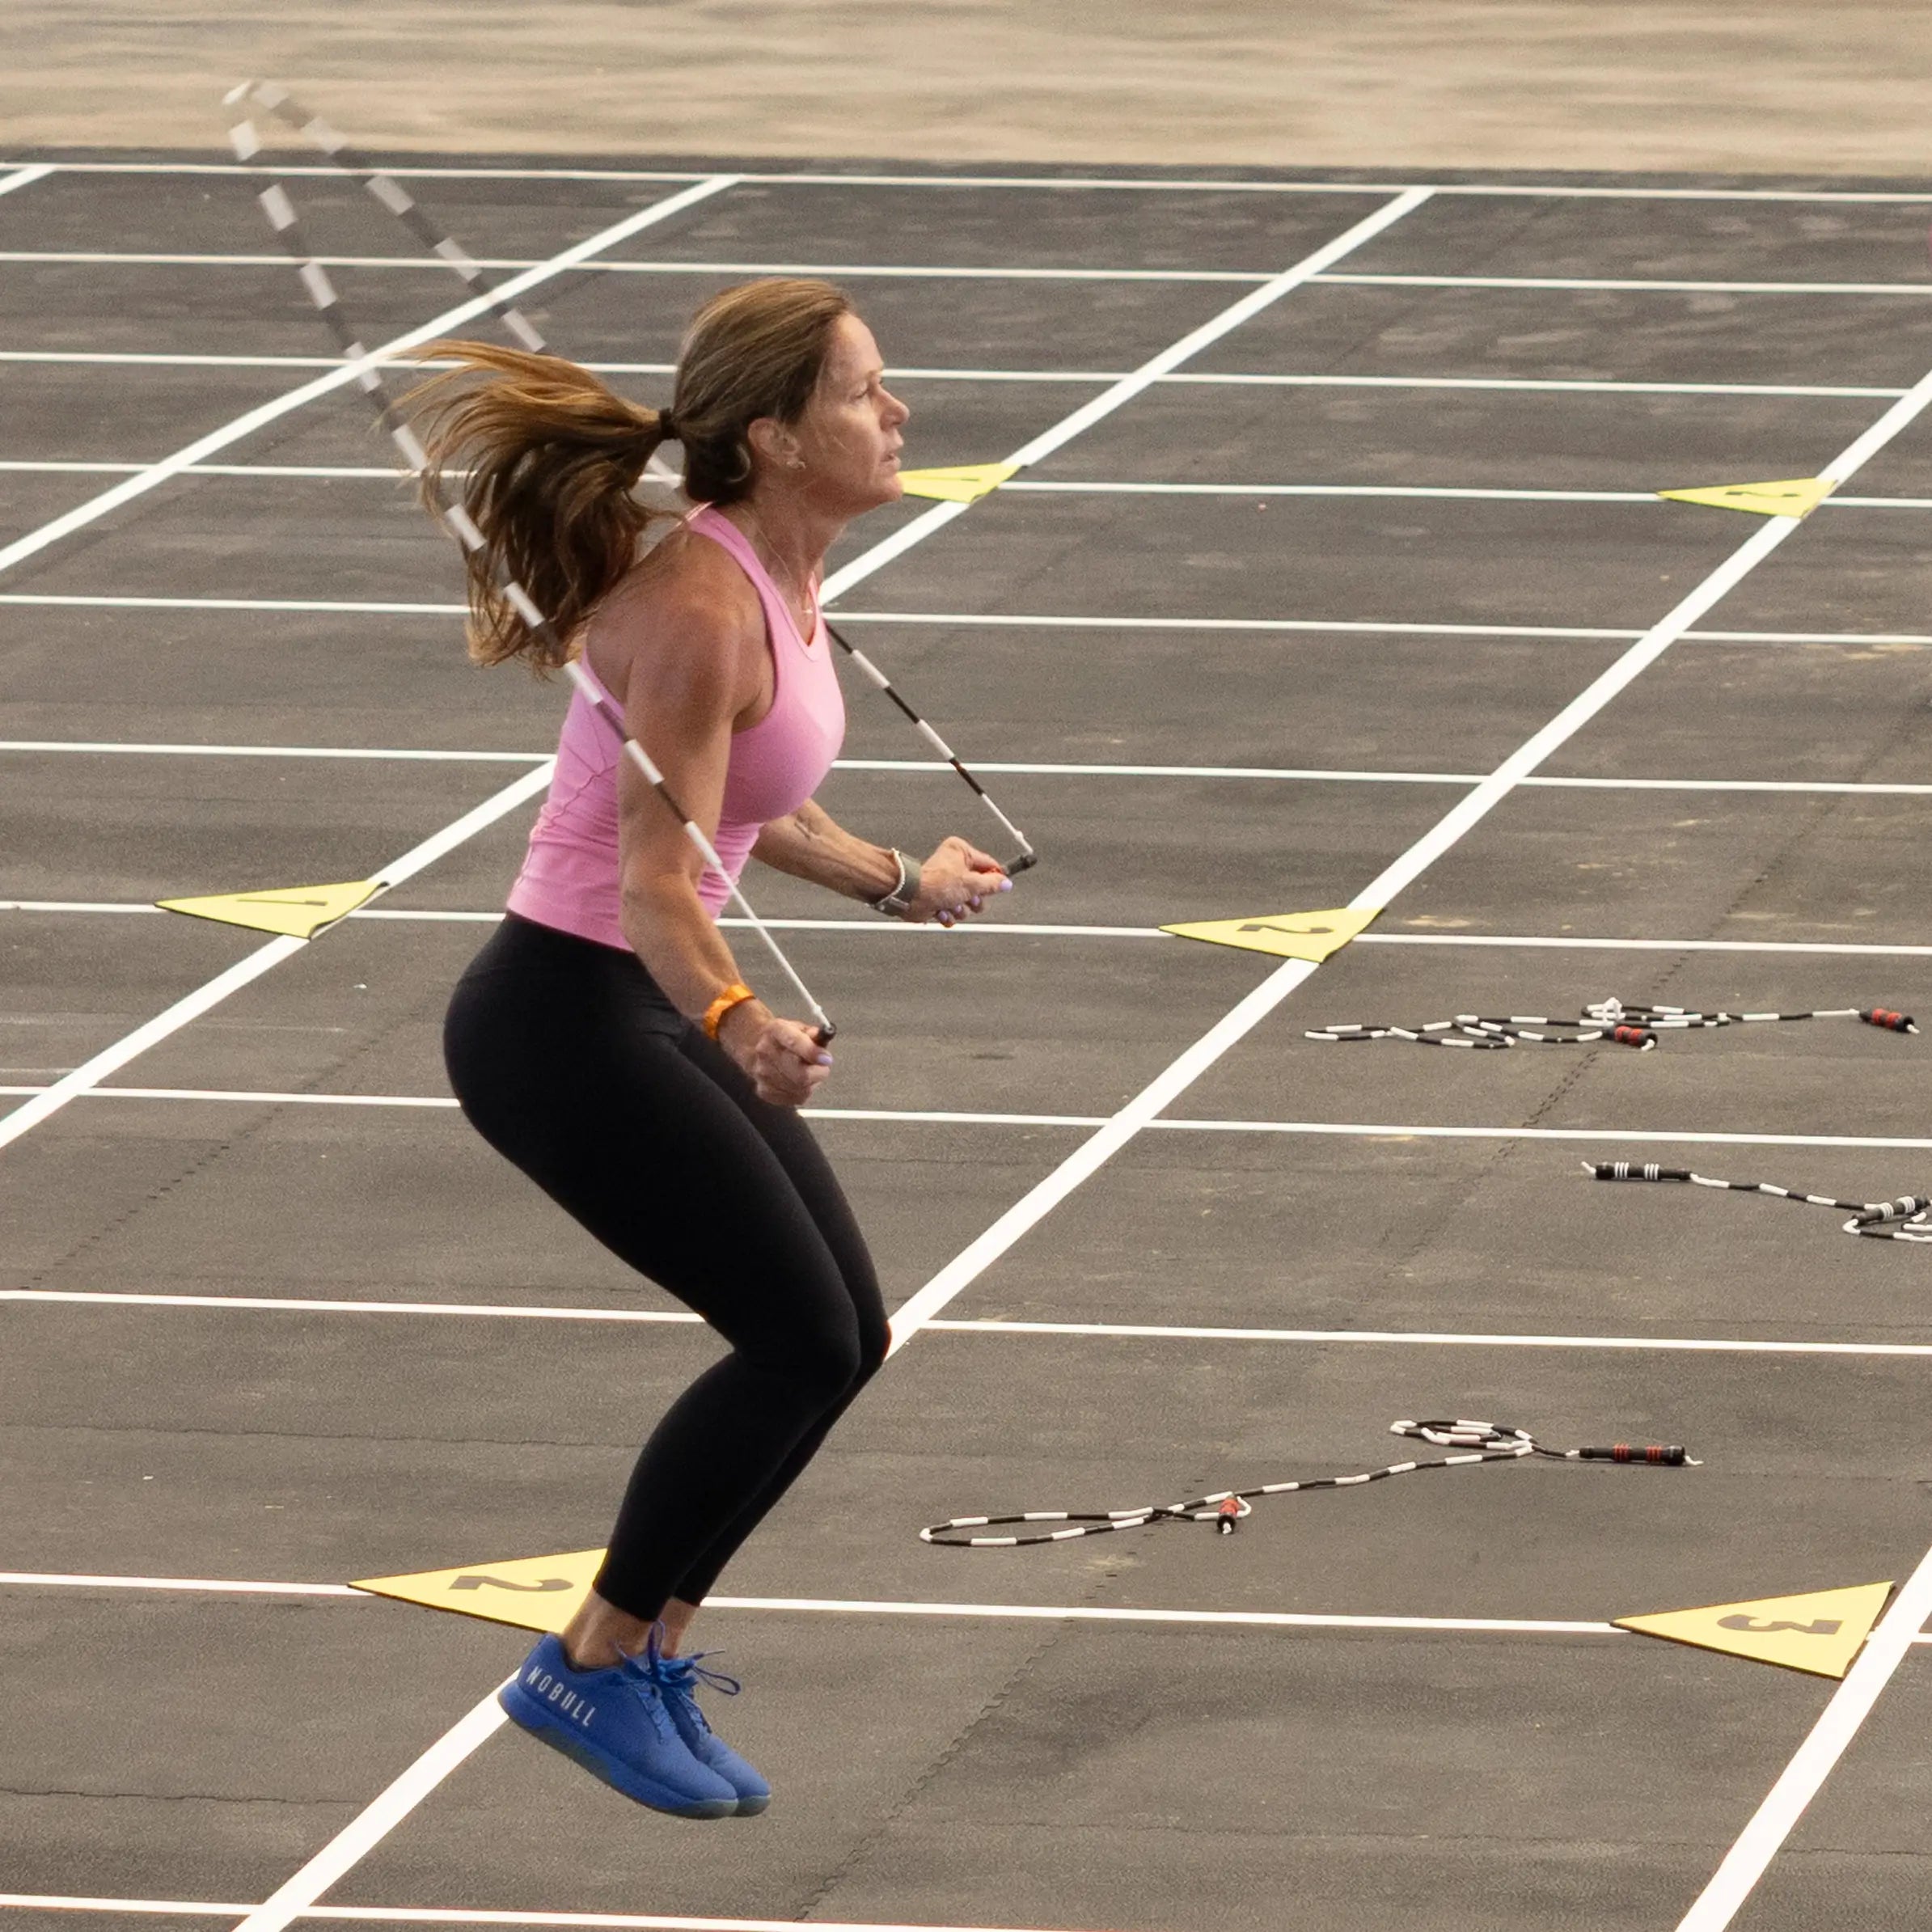
Week 1 — Build the Foundation
Jump rope 3 days this week with at least one rest day between sessions.
Each session: 5 rounds of 60 seconds jumping, 60 seconds rest.
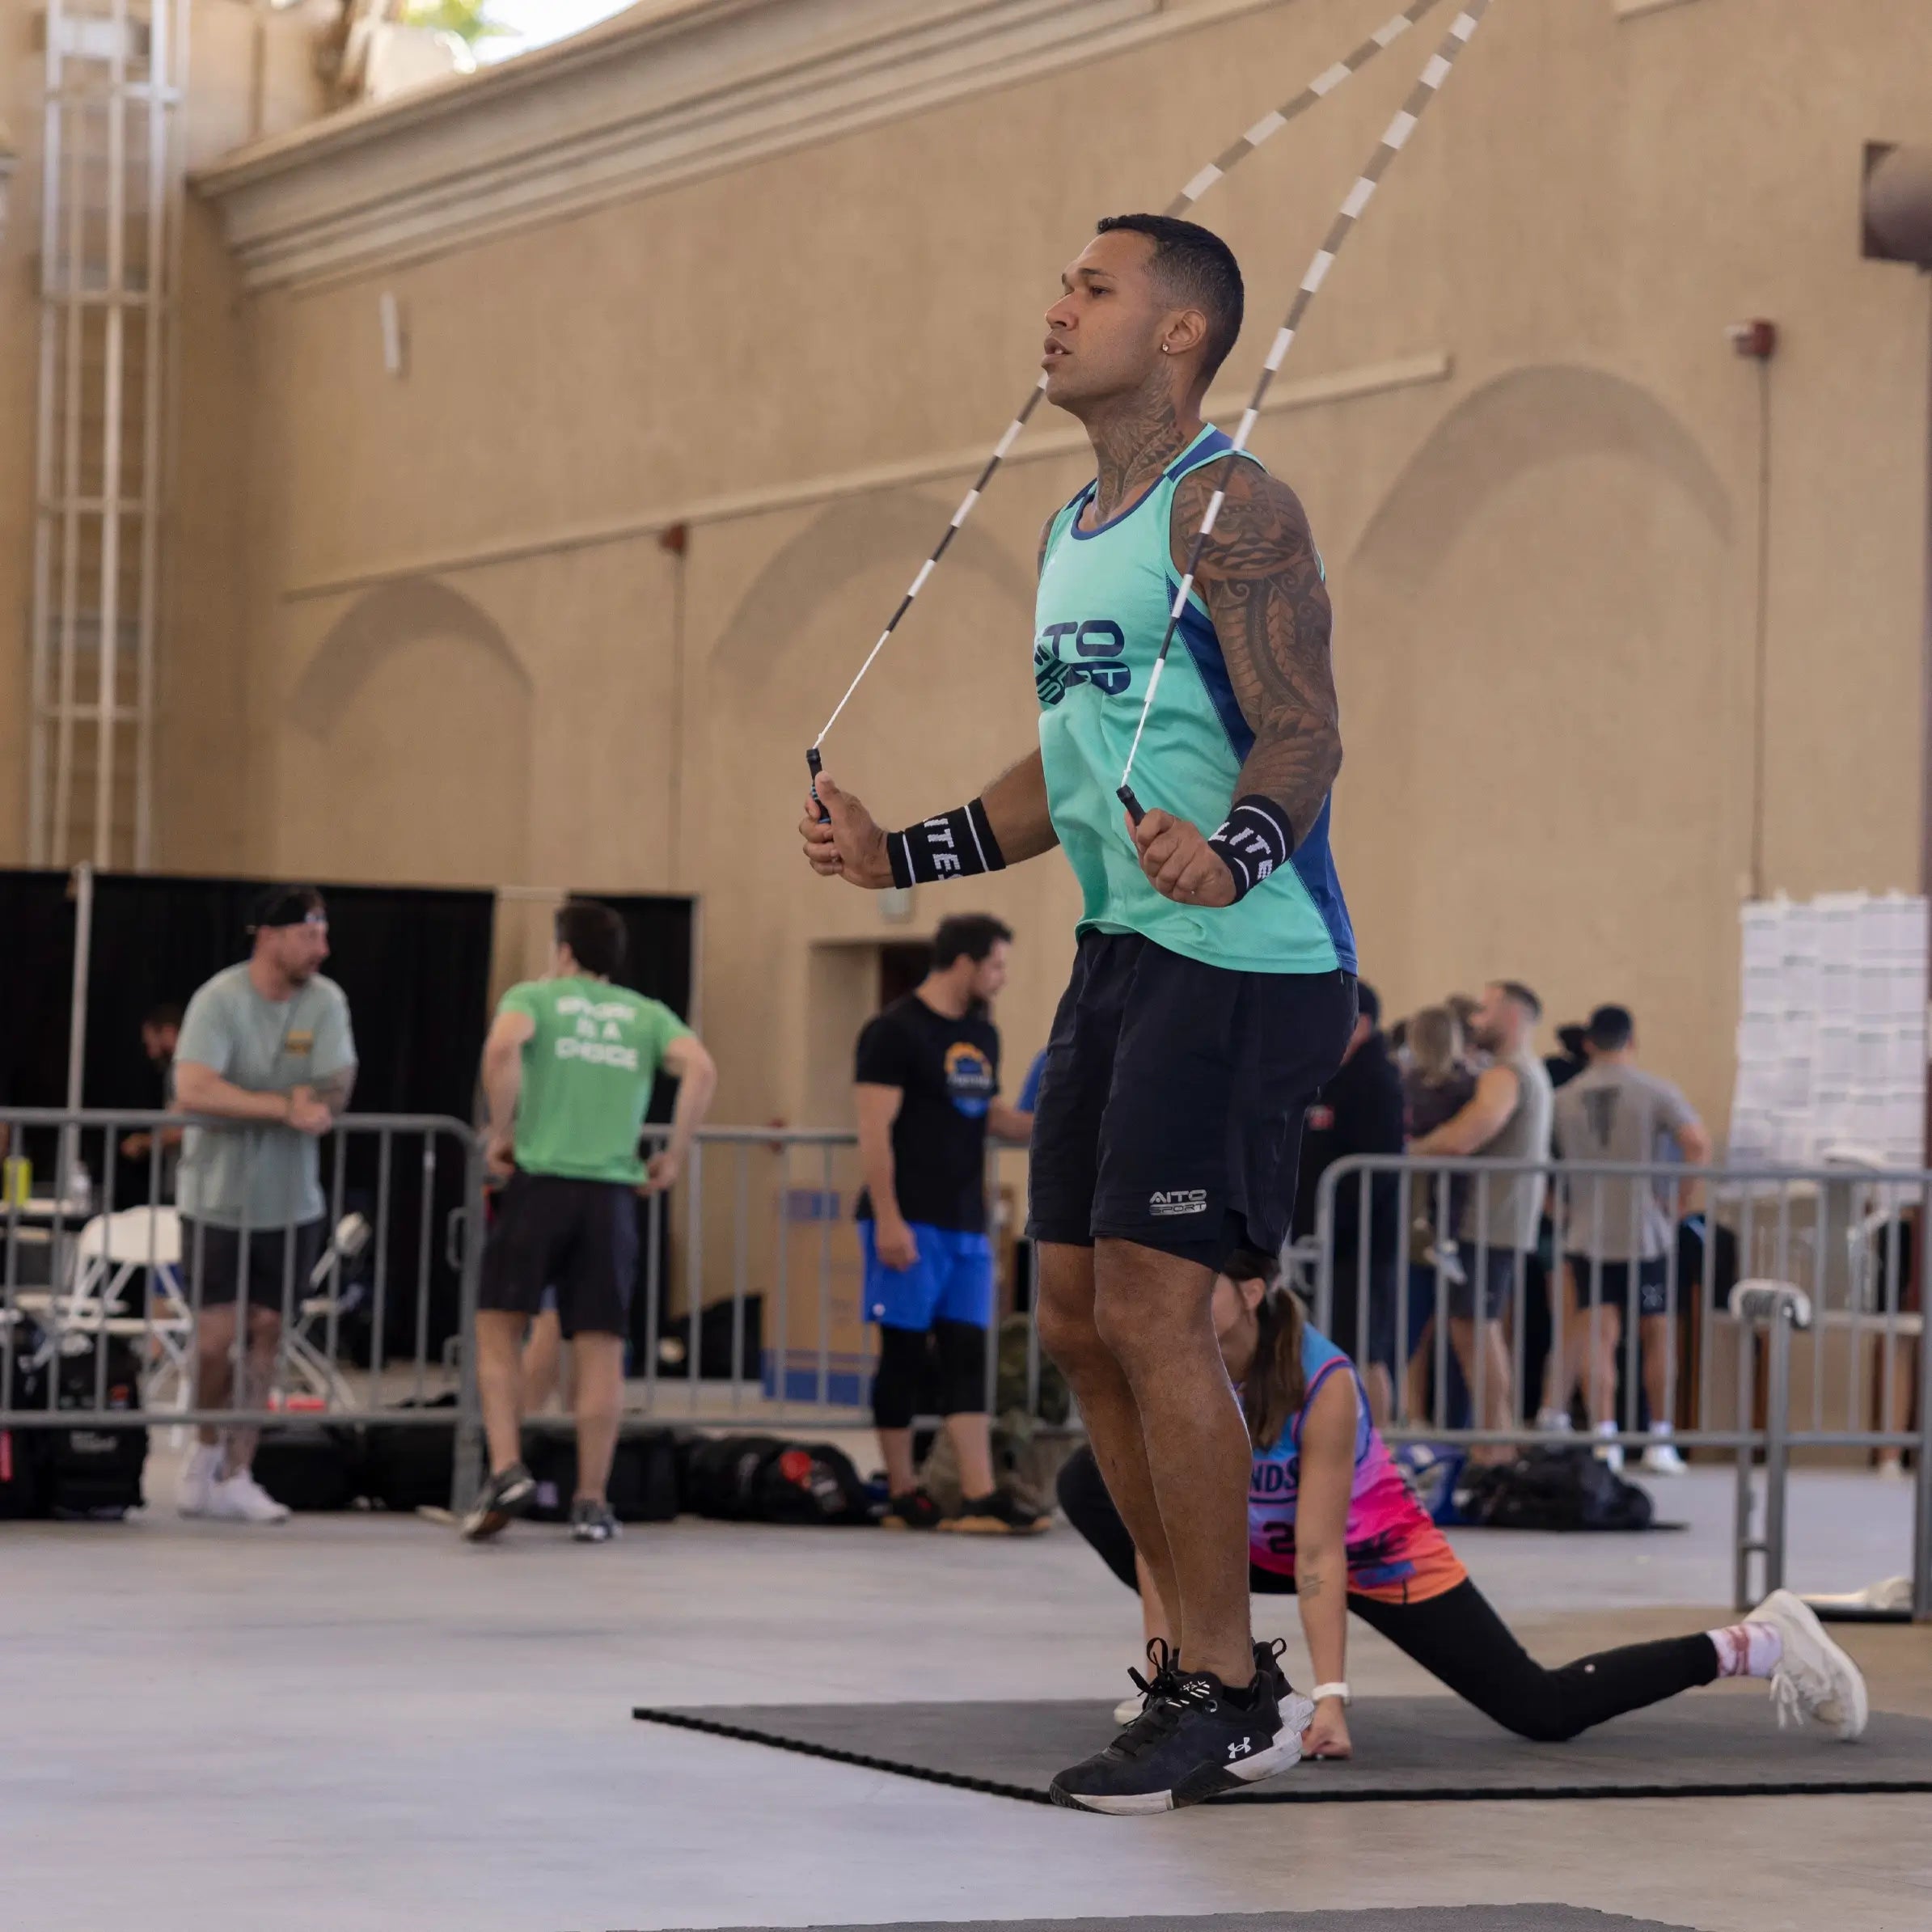
Focus entirely on rhythm and keeping your hands in close. Don't worry about speed. If you trip, reset and keep going — tripping is part of learning.
Week 2 — Extend the Work Periods
Still 3 days per week.
Each session: 5 rounds of 90 seconds jumping, 60 seconds rest.
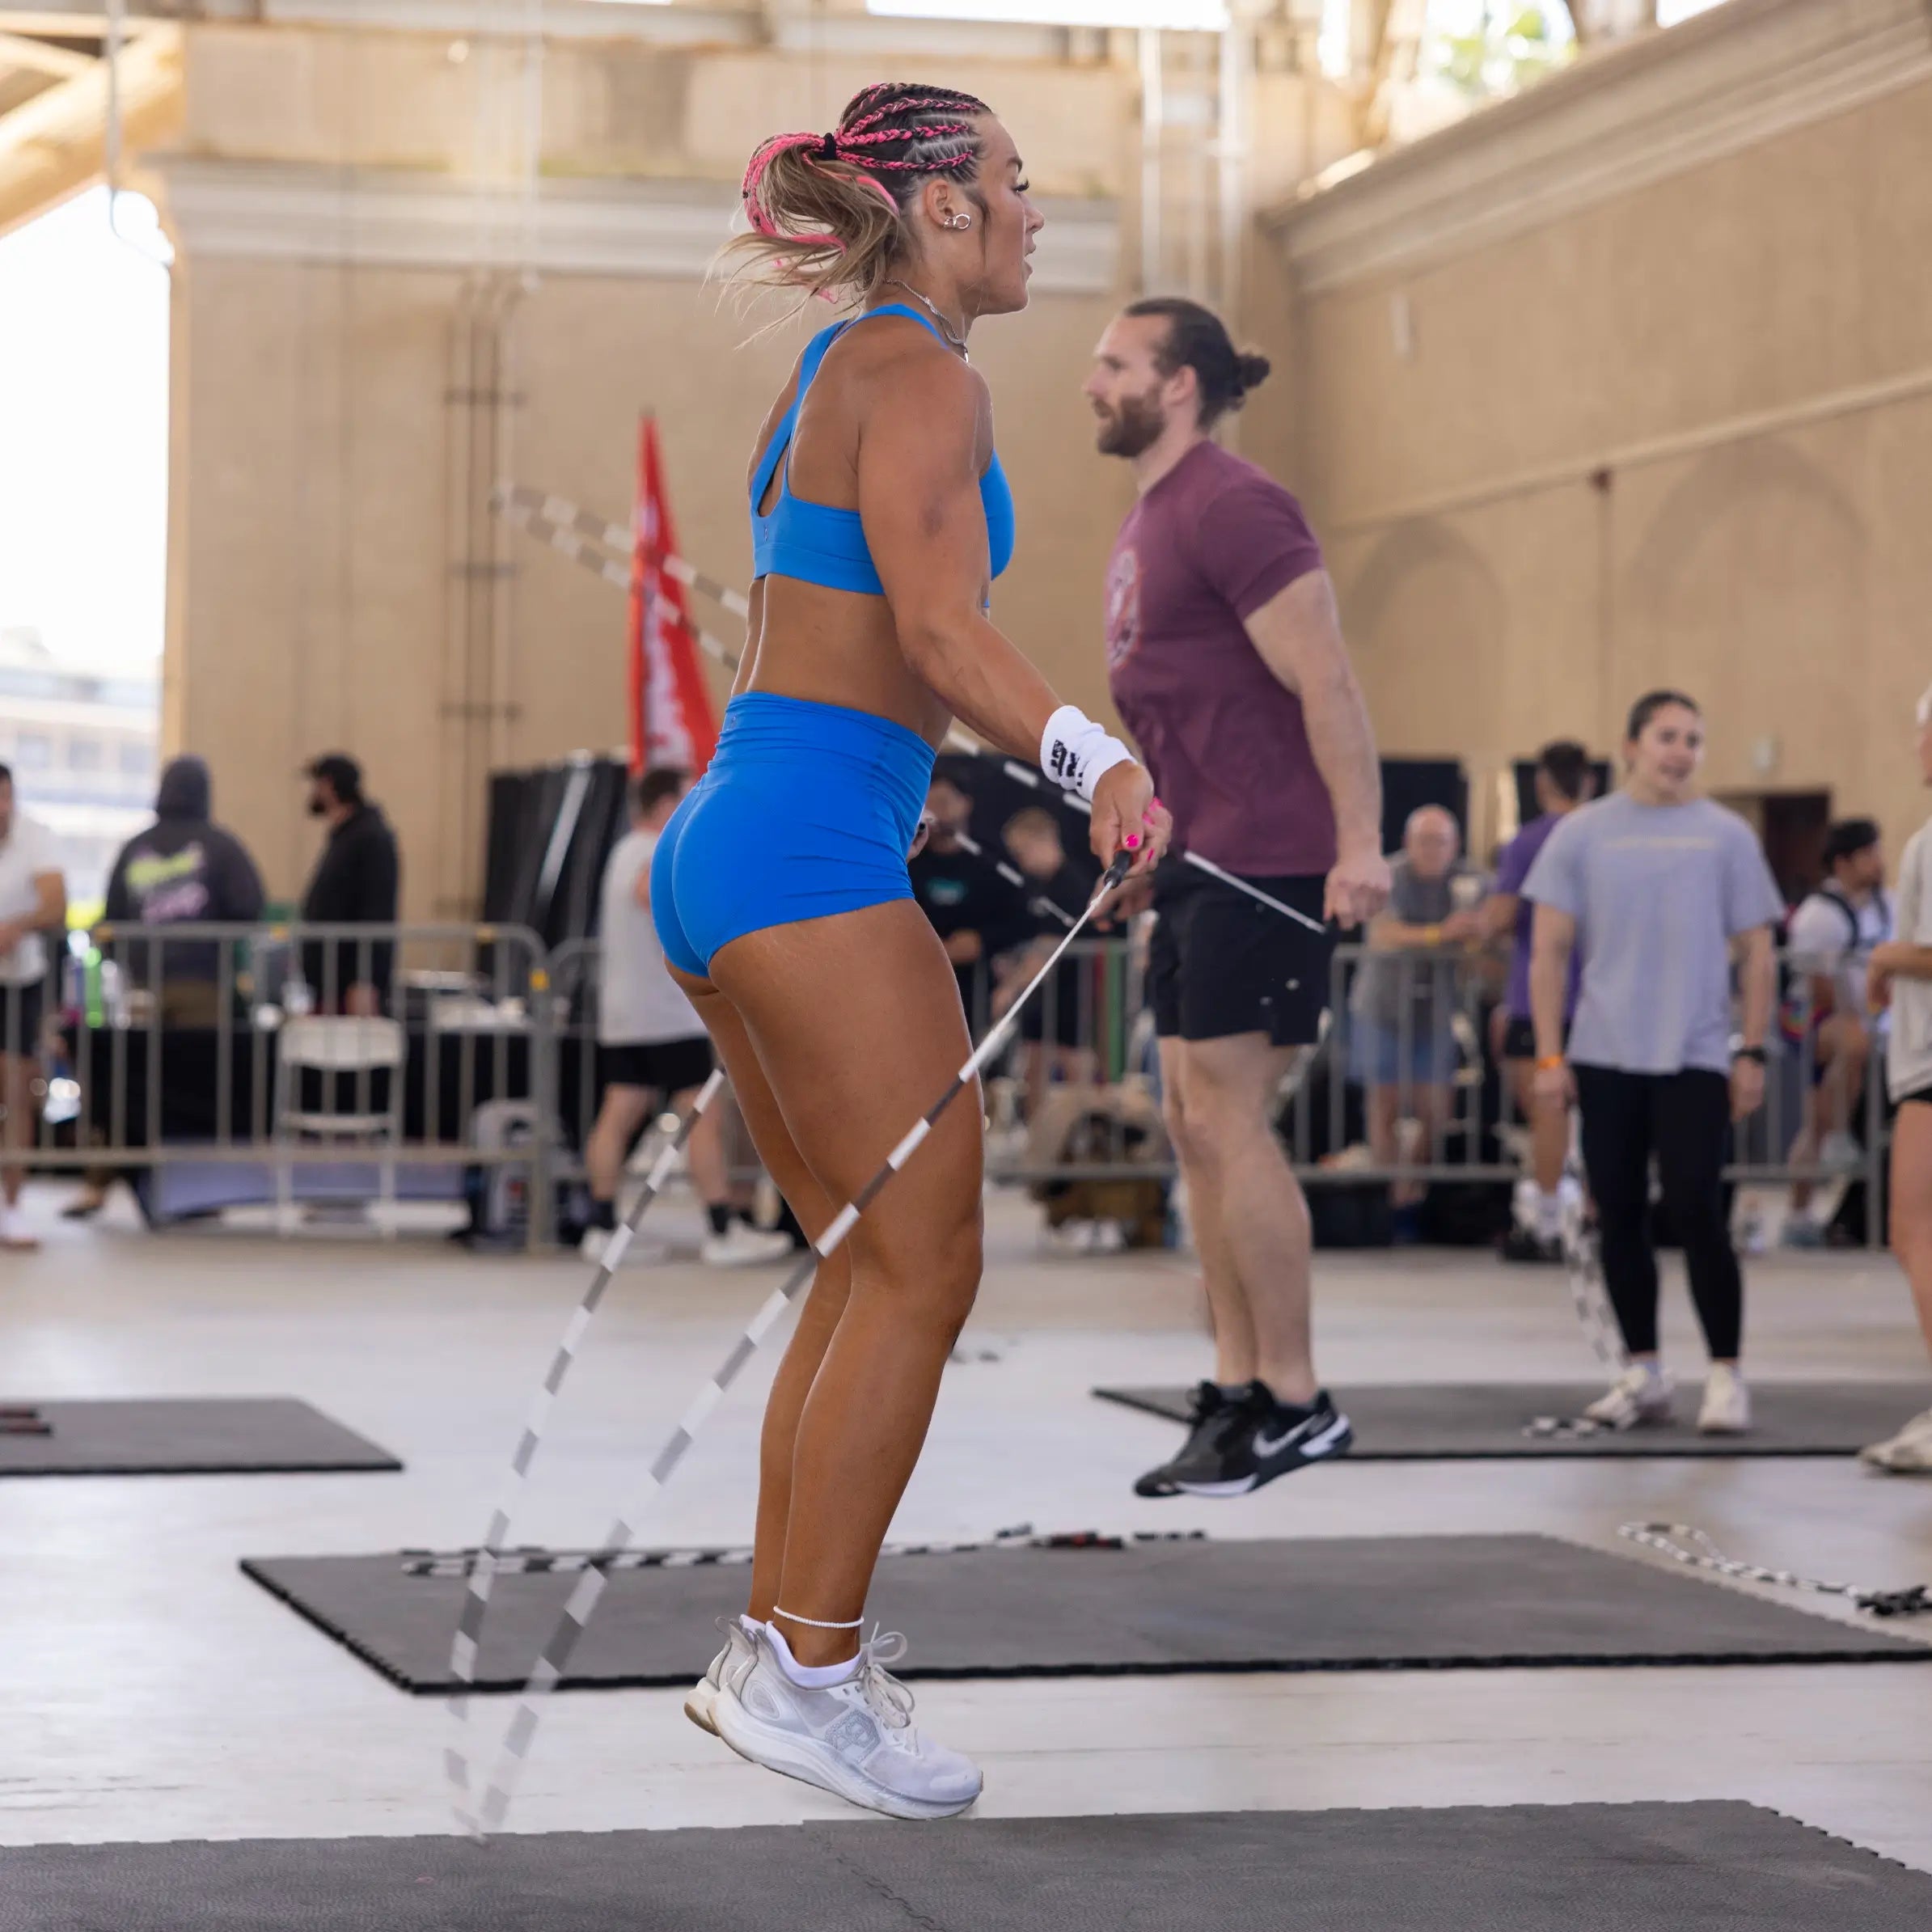
By now your timing should be getting more consistent. Start experimenting with a slight increase in pace during the last 30 seconds of each round.
Week 3 — Introduce Intervals
Move to 4 days per week. Alternate between two types of sessions.
Session A: 6 rounds of 90 seconds at a moderate, steady pace 45 seconds rest
On Session B days, do 8 rounds of 30 seconds all-out effort, 30 seconds rest.
The contrast between steady-state and high-intensity work trains both your aerobic base and your anaerobic capacity.

Week 4 — Add Movement Variety
Four days per week, 20–25 minutes per session. Start mixing in these variations:
Alternate foot step: Instead of both feet leaving the ground together, shift your weight from foot to foot as the rope passes — essentially a light jog. This gets the heart going and starts working on footwork.
Single-leg hops: Hop on one foot 10 times, then switch legs and repeat. Good for ankle stability and balance.
Lateral jumps Jumping, hop laterally with small, limited-range hops. Adds a lateral movement component you don't get from standard jumping.
By the end of week four, most people have crossed the coordination threshold where jumping rope starts feeling natural rather than frustrating. That's when the real fun begins.
What are the benefits of jumping rope for weight loss?
I'm a jump rope guy, so take this with a grain of salt — but I've tried to be fair here. Every cardio tool has its place. Here's how I'd honestly stack them up.
Jump Rope vs. Other Cardio: An Honest Comparison
I'm a jump rope guy, so take this with a grain of salt — but I've tried to be fair here. Every cardio tool has its place. Here's how I'd honestly stack them up.

Jump Rope vs. Running
Running is the king of accessible cardio, and I won't argue with that. But jump rope offers comparable calorie burn in less time, with a much smaller footprint. Running outdoors requires weather cooperation and distance; jump rope works in any room with an eight-foot ceiling. The impact on joints is roughly similar — both are weight-bearing activities — but the jump rope's shorter stride eliminates the heel strike that contributes to knee and hip strain in distance running. Advantage jump rope for time efficiency and versatility. Advantage running for distance endurance training and the mental benefits of being outdoors.
Jump Rope vs. Cycling (Indoor or Outdoor)
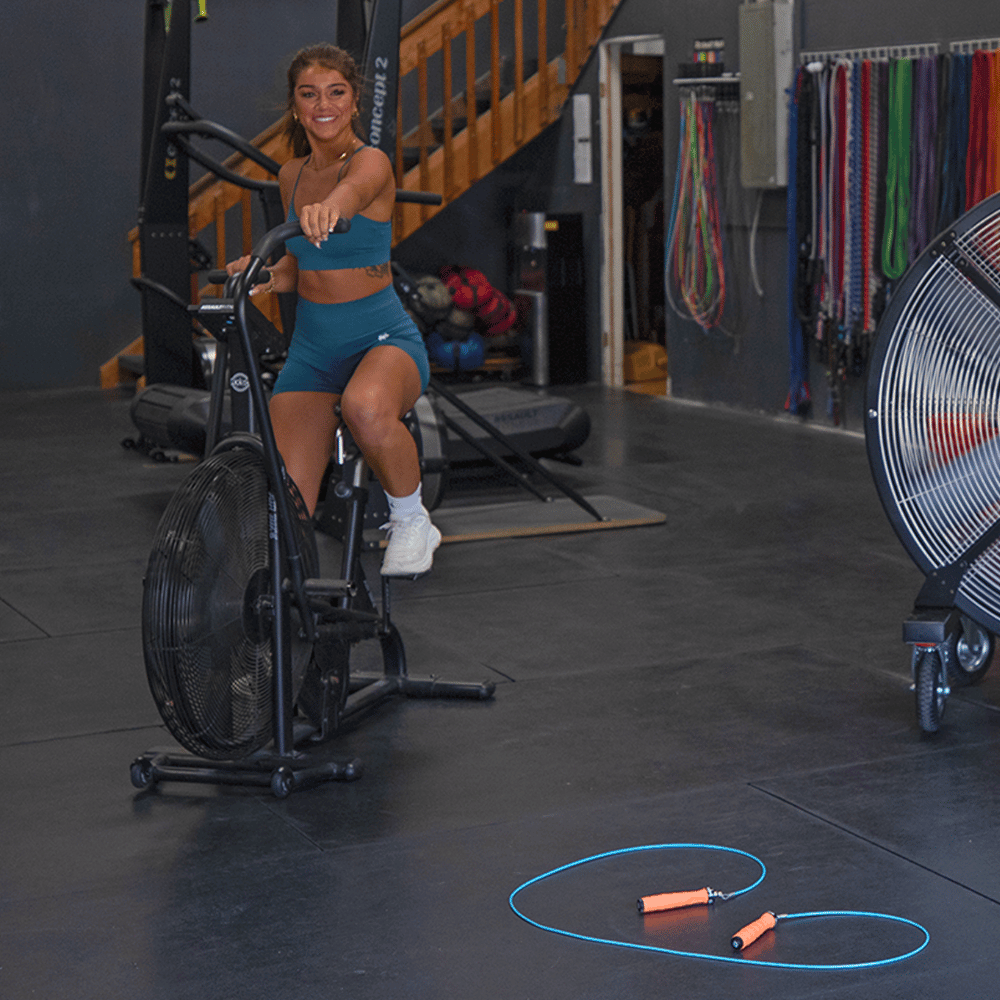
Cycling is lower impact, which makes it a better choice for people with joint issues or coming back from injury. However, it primarily targets the lower body and doesn't deliver the same full-body engagement or coordination benefit. Jump rope burns more calories per minute for most people and takes up infinitely less space than a stationary bike. If joint stress is a concern, cycling wins. If you're healthy and want maximum return on time invested, jump rope wins.

Jump Rope vs. Rowing Machine
Rowing is one of the best full-body cardio options out there — I have genuine respect for it. It's low impact, works the back and arms in ways jump rope doesn't, and the stroke mechanics develop real pulling strength. But a rowing machine costs $500 to $1,500, takes up significant floor space, and isn't something you throw in a bag when you travel. A quality jump rope costs under $100 and weighs a few ounces. For the average person who wants effective cardio without a dedicated home gym, it's not a close comparison.
Jump Rope vs. HIIT Classes
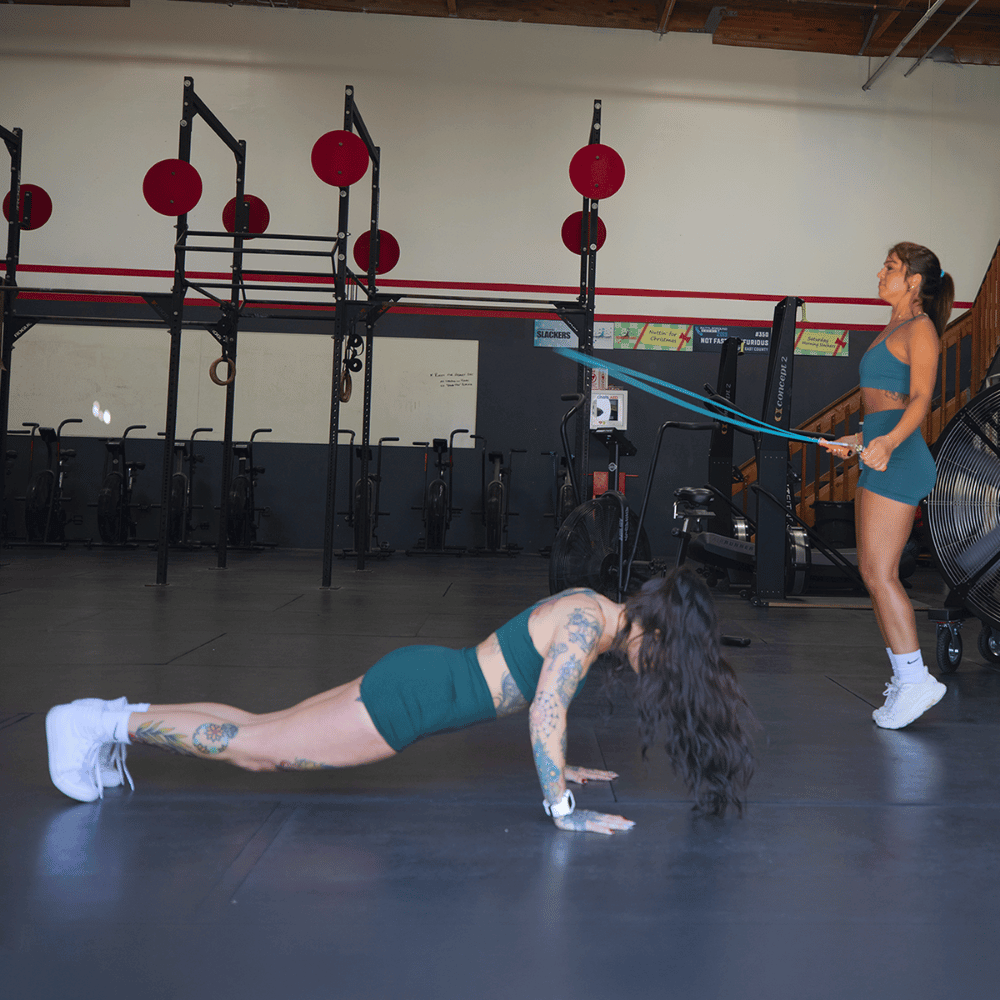
Group HIIT classes are great for accountability and variety. But they're scheduled, location-dependent, and expensive over time. A jump rope gives you the same high-intensity interval capability on your schedule, in any space, for a one-time cost. The coordination and skill component of jump rope also adds a dimension that most HIIT formats don't touch. What if jump rope was a HIIT class you could take anywhere, anytime, forever, for free after you bought it.
The jump rope hits a unique sweet spot of effectiveness, affordability, and portability.
It isn't the best tool for every specific situation — but for the broadest range of people and goals, nothing checks more boxes.
FAQs
How long should I jump rope each day?
For general fitness, 15 to 20 minutes of focused jump rope work — including rest intervals — is plenty. That's roughly equivalent to 30 to 40 minutes of jogging in terms of cardiovascular stimulus. If you're just starting out, even 10 minutes is meaningful. Quality of effort matters more than duration, especially early on.
Is jumping rope bad for your knees?
Done correctly, no. The key is landing on the balls of your feet with slightly bent knees, not landing flat-footed or with locked joints. This distributes impact through your calf muscles rather than driving force directly into the knee joint. People who experience knee pain while jumping rope are typically landing too hard, jumping too high, or using improper footwear. A supportive athletic shoe with reasonable cushioning makes a real difference.
How do I know if my rope is the right length?
Use the sternum test described earlier in this post. When you stand on the center of the rope and hold the handles parallel to the ground, the cable ends should align at or just below your sternum. If they reach your chin or above, the rope is too long — shorten it. If they fall at your belly button or below, it's too short and you'll need a longer rope or a different size.
What's the difference between a speed rope and a fitness rope?
A speed rope is designed for maximum rotational velocity — ultralight wire, minimal handle weight, built for athletes working on double-unders or triple-unders. It offers almost no feedback and can be difficult to control if you haven't already developed solid timing. A fitness rope is designed for general conditioning: slightly heavier cable (that 3–4 ounce range), more feedback, more forgiving. If you're not specifically training for jump rope competition or high-level CrossFit skills, a fitness cable is the right call. I'd say 90% of people — including very fit, active people — are best served by a fitness cable.
Can I lose weight by jumping rope?
Yes, meaningfully so — but like any exercise, it works in the context of an overall approach that includes diet and recovery. Jump rope is particularly effective for fat loss because the intensity is easy to scale up, the full-body engagement keeps your metabolic rate elevated, and the coordination challenge keeps your sessions from becoming mindless. At a moderate intensity, most people burn 10 to 15 calories per minute. At high intensity, that number goes higher. Combined with a reasonable nutrition approach, consistent jump rope training produces real, visible results.
How often should I replace my rope cable?
For a cable-based rope used regularly, I'd inspect the cable every few months for signs of fraying or kinking, especially near the handle entry points. Heavy use on rough surfaces (concrete, asphalt) will wear a cable faster than use on wood floors or rubber gym matting. Most quality cables last one to two years with regular use. When the cable starts to develop stiff spots or visible wear, replace it — a worn cable affects your timing and can snap unexpectedly mid-workout.I keep tripping.
What am I doing wrong?
Usually one of three things: hands too wide (shortening the rope's arc), jumping too high (disrupting your timing), or looking down at the rope instead of straight ahead. Fix your hand position first — bring them in close to your hips. Then focus on minimal, consistent jumps. And keep your gaze forward at eye level. The rope will take care of itself once your timing and position are dialed in. Tripping early on is completely normal; it doesn't mean you're doing it wrong, it means you're still learning. Stay patient, reset quickly, and keep going.
The Bottom Line
I didn't build Rx Smart Gear because I thought jump ropes were a novelty. I built it because I knew — from years of personal experience and watching thousands of athletes train — that the jump rope is one of the most effective fitness tools ever invented. It just needed to be done right. Get a quality rope sized for your height. Get your hands in close and let your wrists do the work. Start slow, build the rhythm, and give yourself a few weeks to get over the initial coordination curve. After that, I think you'll understand why I've dedicated my career to this one simple tool. It's not the fanciest thing in the gym. It never will be. But in terms of what it delivers for your time and your health, nothing beats it.
Read more...
The Ultimate Fountain of Youth: How Skipping Rope Rewinds the Biological Clock
Aging is often viewed as an inevitable decline in muscular strength, bone density, cardiorespiratory efficiency, and cognitive acuity. However, modern exercise physiology reveals that targeted move...

Want to Become a Better Runner? Science Says Pick Up a Jump Rope
When runners want to get faster, the typical answer is simple: run more. More miles. More intervals. More tempo runs. More time on the track. But what if one of the tools that could help improve yo...

Master Jump Rope Crossovers: Proper Technique, Progressions and Rope
Jump rope crossovers look fast, fluid, and impressive, but they are more than a flash of a trick. They challenge your timing, coordination, agility, and body awareness. Whether you want your first ...